How to Install a Mini Split Air Conditioner: A DIY-Friendly Guide (2026)
A practical, honest walkthrough of how to install a mini split air conditioner — from mounting the indoor unit to knowing exactly which steps require a licensed HVAC pro.
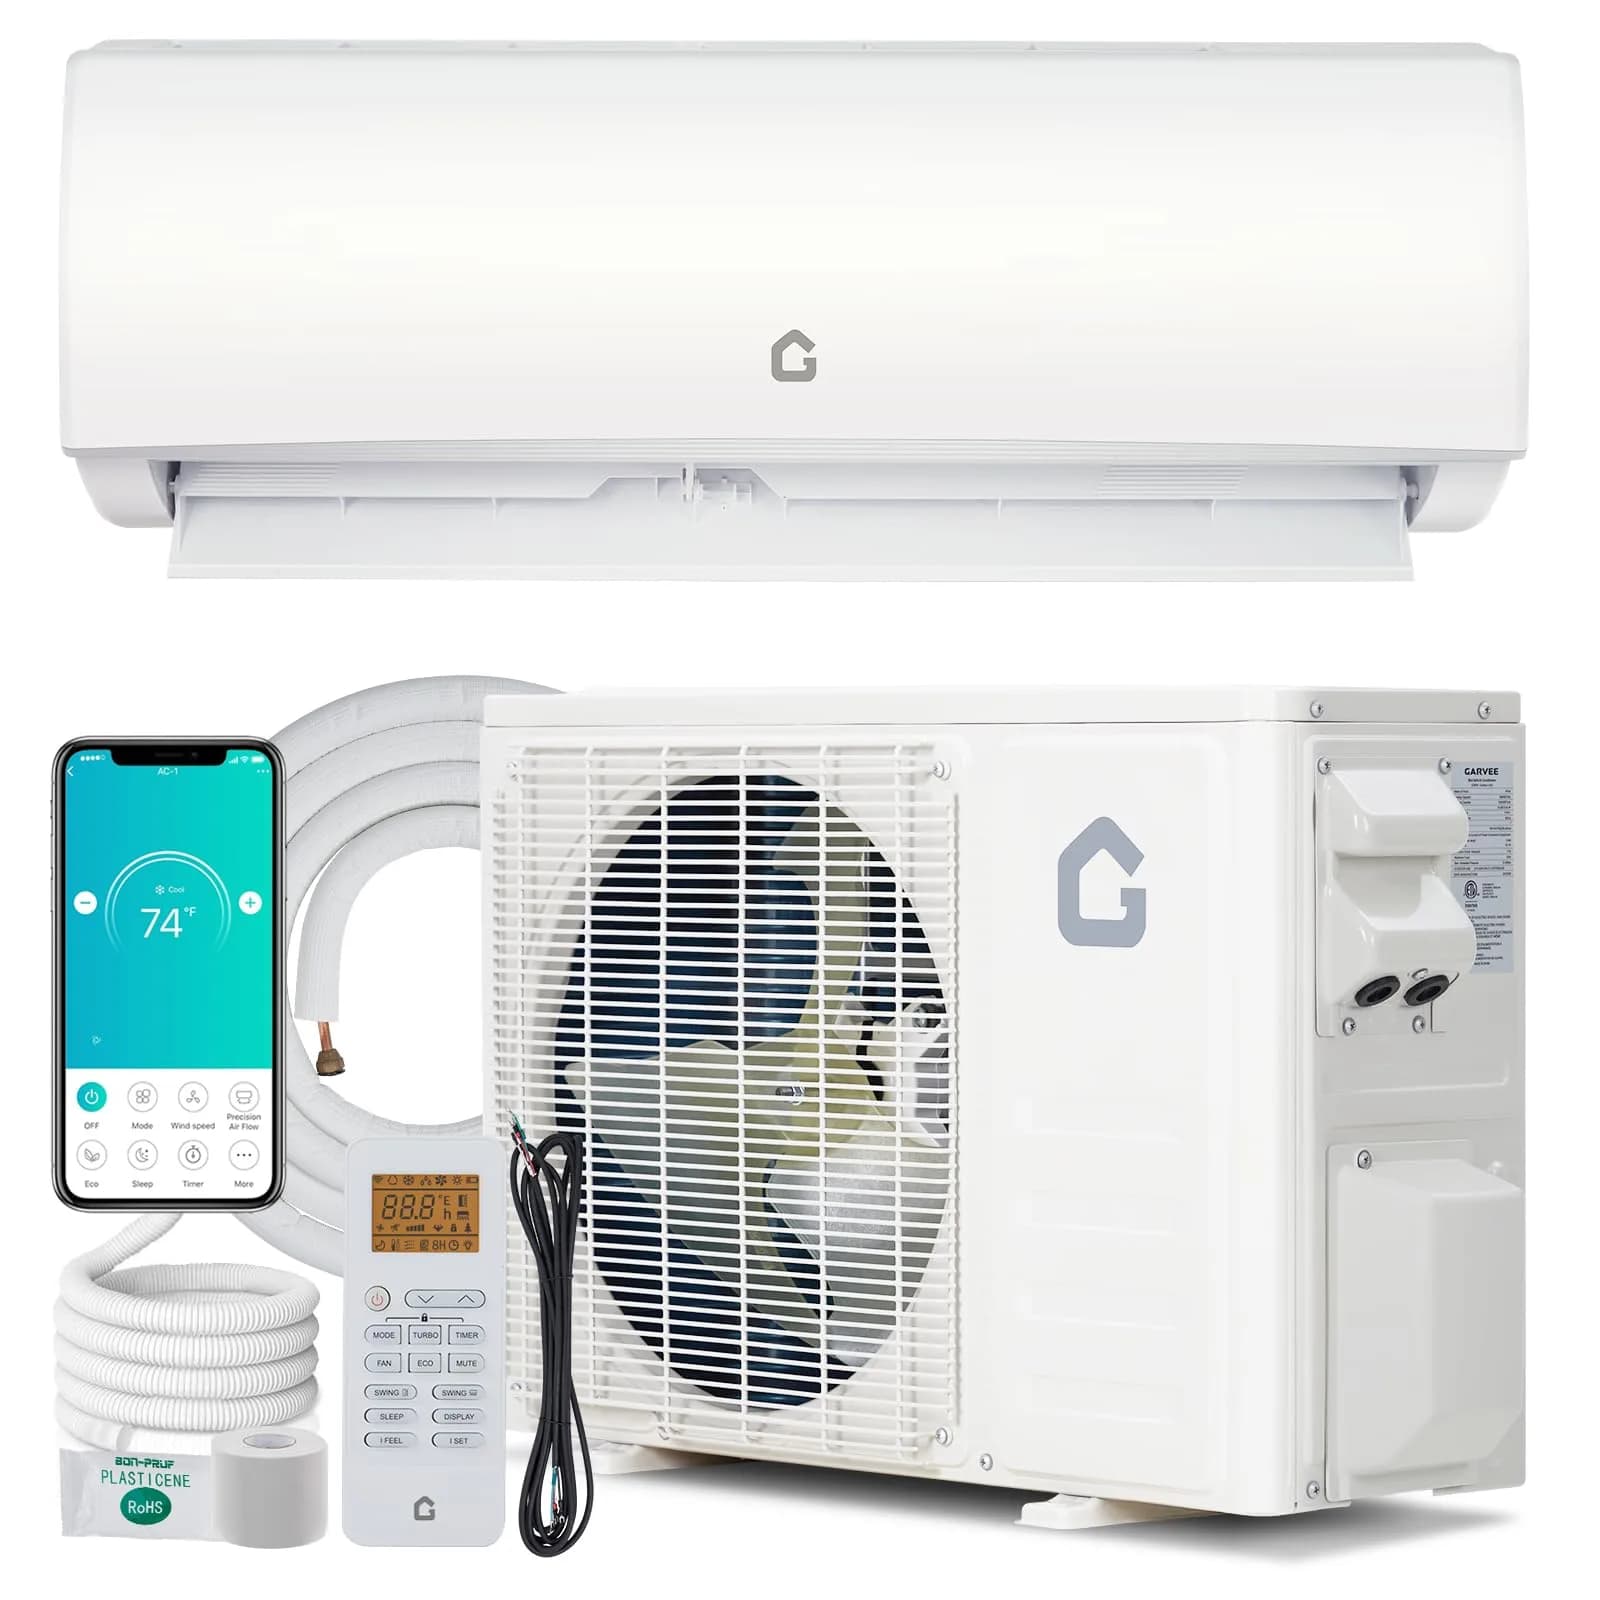
What you can (and can't) DIY when installing a mini split
- What you can (and can't) DIY when installing a mini split
- Tools and prep before you start
- How to install a mini split air conditioner, step by step
- Choosing the right approach for your home
- Mini split vs. central AC vs. window AC installation
- Common installation mistakes and how to avoid them
- Alternatives if a mini split isn't the right fit
Learning how to install a mini split air conditioner starts with knowing which steps a confident DIYer can actually handle and which ones legally need a licensed HVAC technician. The good news: mounting the indoor unit, drilling the wall pass-through, and placing the outdoor condenser are all within reach for most homeowners with basic tools. Refrigerant line evacuation and the final electrical hookup are a different story — and skipping that distinction is the single most common DIY mini-split mistake.
- What you can (and can't) DIY
- Tools and prep before you start
- How to install a mini split air conditioner, step by step
- Choosing the right approach for your home
- Mini split vs. central AC vs. window AC installation
- Common installation mistakes and how to avoid them
- Alternatives if a mini split isn't the right fit
A ductless mini split is DIY-friendly for mounting and placement, but budget for a licensed pro to finish the refrigerant and electrical work.
Garvee's mini split systems ship with a complete installation kit — mounting hardware, line-set cover, and wiring — built around this DIY-plus-pro workflow, which is why they're a common starting point for homeowners tackling their own install.
View Garvee mini split systemsKey highlights
- Mini splits use a variable-speed inverter compressor that runs far more efficiently than fixed-speed systems versus fixed-speed cooling systems once running.
- Ductless systems skip the 20-30% air loss that leaky ductwork causes in central AC, which is why mini splits reach SEER ratings of 20-35+.
- Garvee's mini split lineup runs SEER 18 or higher with R32 refrigerant and WiFi smart controls.
- Refrigerant evacuation and electrical hookup are the two steps most homeowners hand off to a licensed technician.
What you can (and can't) DIY when installing a mini split
Mini split manufacturers, including Garvee, market their systems as DIY-friendly because the mounting and placement work doesn't require special certification. That covers securing the wall bracket, drilling the pass-through hole, running the line-set cover between indoor and outdoor units, and setting the outdoor condenser on a pad or wall brackets. What it doesn't cover is the refrigerant side: evacuating air and moisture from the copper lines with a vacuum pump before the system is charged, and connecting the dedicated electrical circuit the unit needs to run. Skipping licensed installation for the refrigerant and electrical work is best handled by a licensed professional and, done incorrectly, reduces the system's efficiency or damages the compressor outright.
Think of it as a hybrid job: a homeowner comfortable with a drill and a level can knock out the physical placement in a weekend, then schedule a licensed HVAC technician for a shorter visit to finish the vacuum, charge, and wiring. That split keeps labor costs down without cutting corners on the part of the job that actually needs a professional. For more information on cooling options and how mini-splits stack up against other formats, see our comprehensive Garvee AC review.
Tools and prep before you start
Before drilling anything, confirm your local permit rules — many municipalities require an electrical permit for the new circuit a mini split draws, and some require an HVAC permit for the refrigerant work a technician will handle. Check with your building department first; a licensed installer can often pull permits as part of the job.
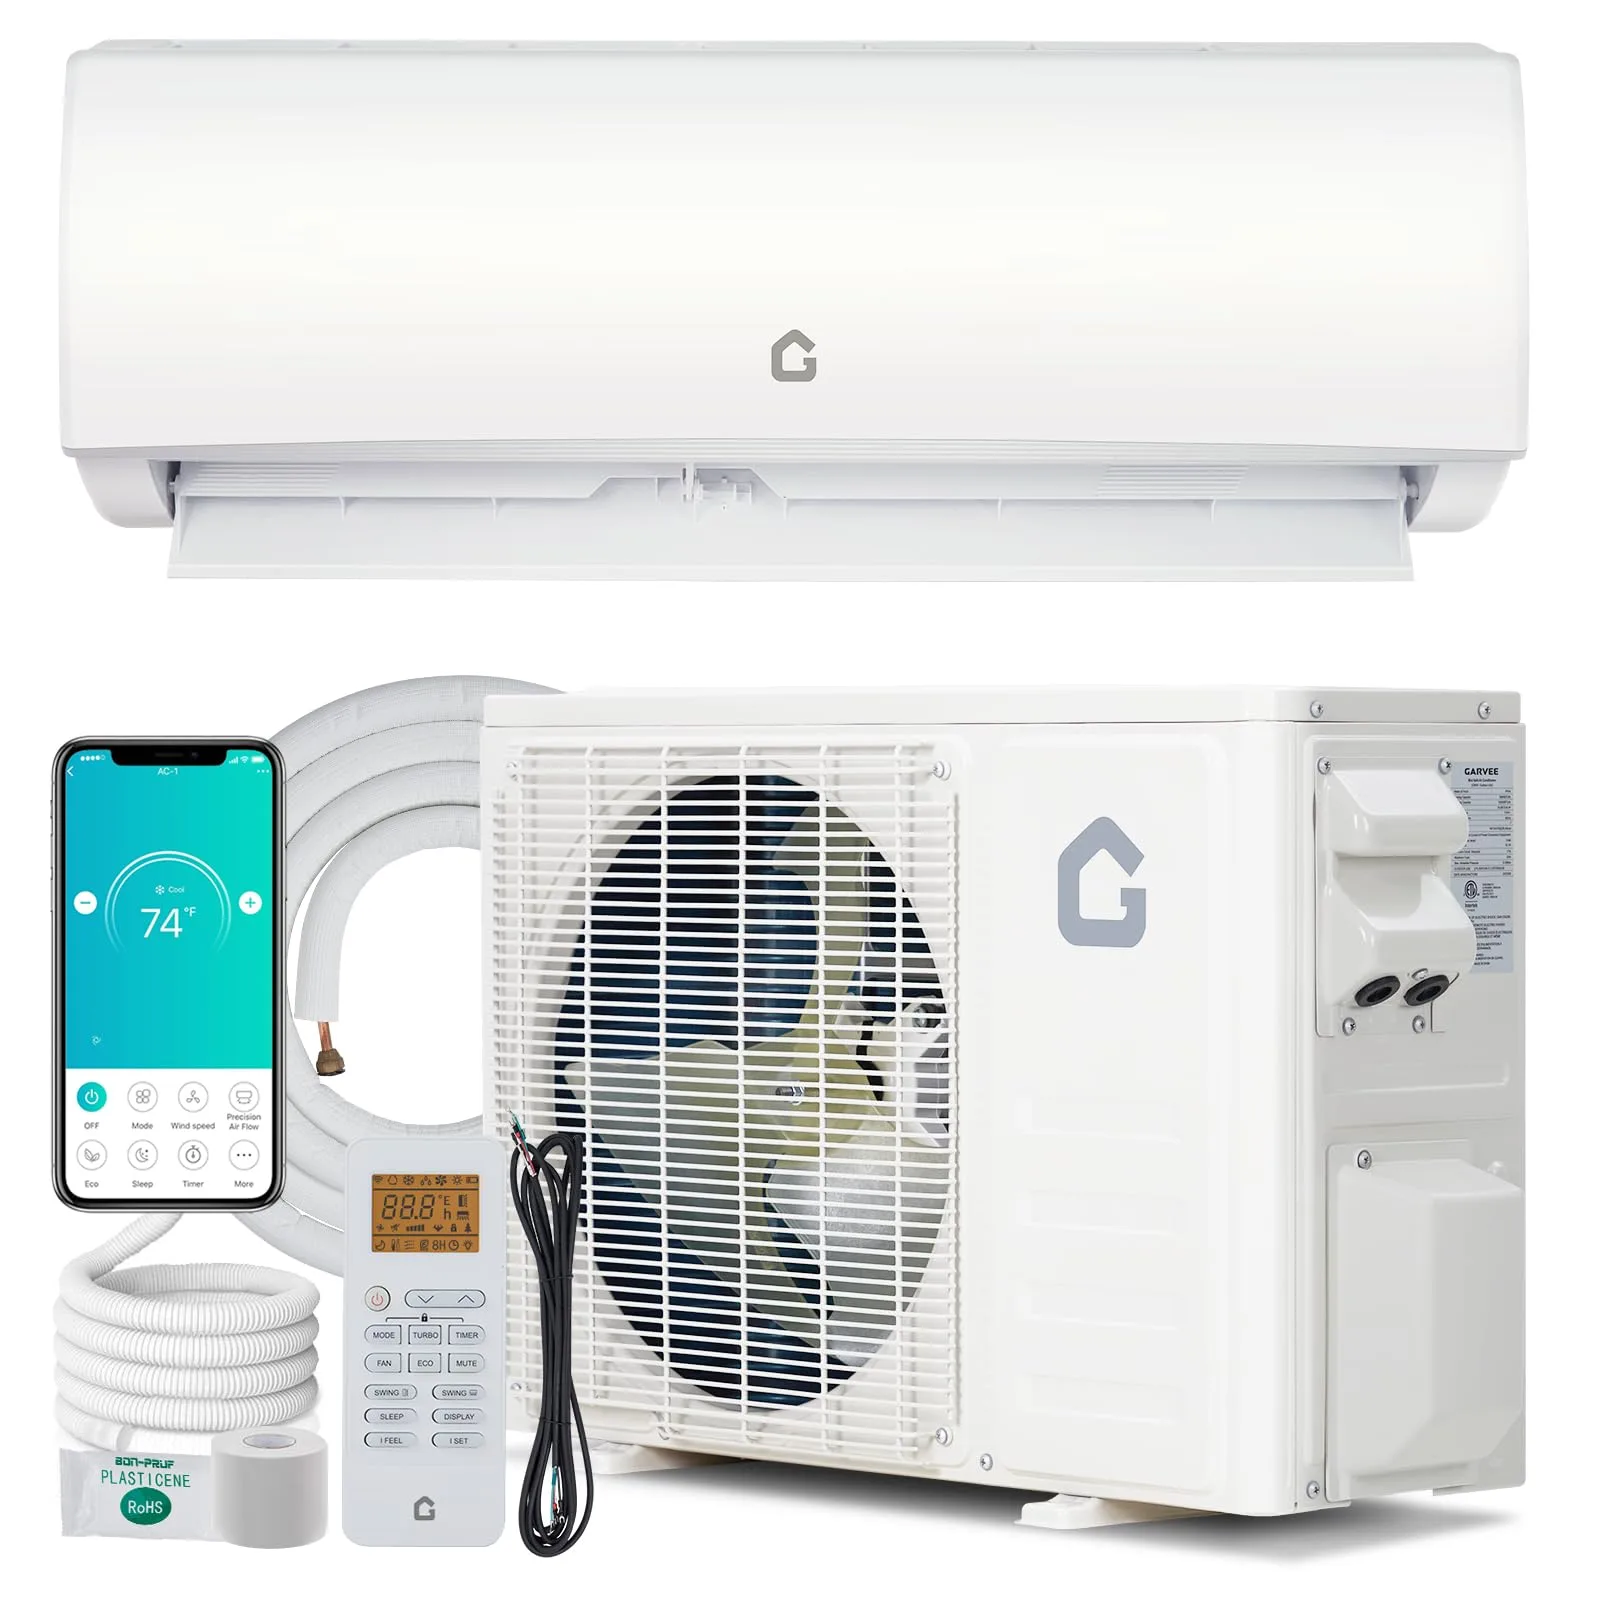
For the DIY portion, gather a stud finder, a level, a hole saw sized for the line-set pass-through, a drill, a tape measure, and the mounting hardware included in the installation kit. Garvee's mini split kits ship with the wall bracket, line-set cover, and mounting screws already included, which removes a common source of mismatched-parts delays.
Walk the planned indoor and outdoor unit locations before you drill anything. The indoor unit needs clearance above and below for airflow and a relatively short, straight run to the exterior wall. The outdoor condenser needs a stable, level surface, drainage away from the foundation, and enough clearance from fences or shrubs for airflow.
How to install a mini split air conditioner, step by step
This walkthrough covers the physical installation sequence most manufacturer guides and installers follow. Steps 1-3 are the DIY-friendly portion; steps 4-6 are where most homeowners bring in a licensed technician.
- Mount the indoor unit bracket. Use a stud finder to locate secure anchor points, level the bracket, and screw it into the wall studs. The indoor unit hangs directly on this bracket, so it needs to be solidly fixed.
- Drill the wall pass-through. Using the hole saw, drill at a slight downward slope toward the exterior so condensation drains outside rather than back into the wall cavity. This hole carries the refrigerant lines, drain hose, and power/control wiring.
- Set the outdoor condenser. Place the outdoor unit on a level pad or wall-mounted bracket, away from direct sun exposure where possible, with clear airflow on all sides and drainage that won't pool near the foundation.
- Connect and route the line set. Run the pre-charged or field-cut copper refrigerant lines, drain line, and wiring between the indoor and outdoor units through the wall pass-through, then cover the exterior run with the included line-set cover for a clean finish. This step is often done alongside a licensed technician, since flare-fitting connections need to be torqued to spec.
- Evacuate and charge the refrigerant lines — licensed pro required. A vacuum pump removes air and moisture from the lines before the system is charged with refrigerant. This step is where DIY installs most often go wrong, and it's the step most tied to warranty validity.
- Complete the electrical hookup — licensed pro required. Mini splits need a dedicated circuit sized to the unit's power draw. A licensed electrician (sometimes the same HVAC technician, sometimes separate) wires the disconnect box and confirms the circuit meets code.
- Test and commission the system. Once refrigerant is charged and power is connected, run the system through a cooling and heating cycle, confirm the WiFi controls pair correctly if your model has them, and check for any refrigerant leaks at the line connections.
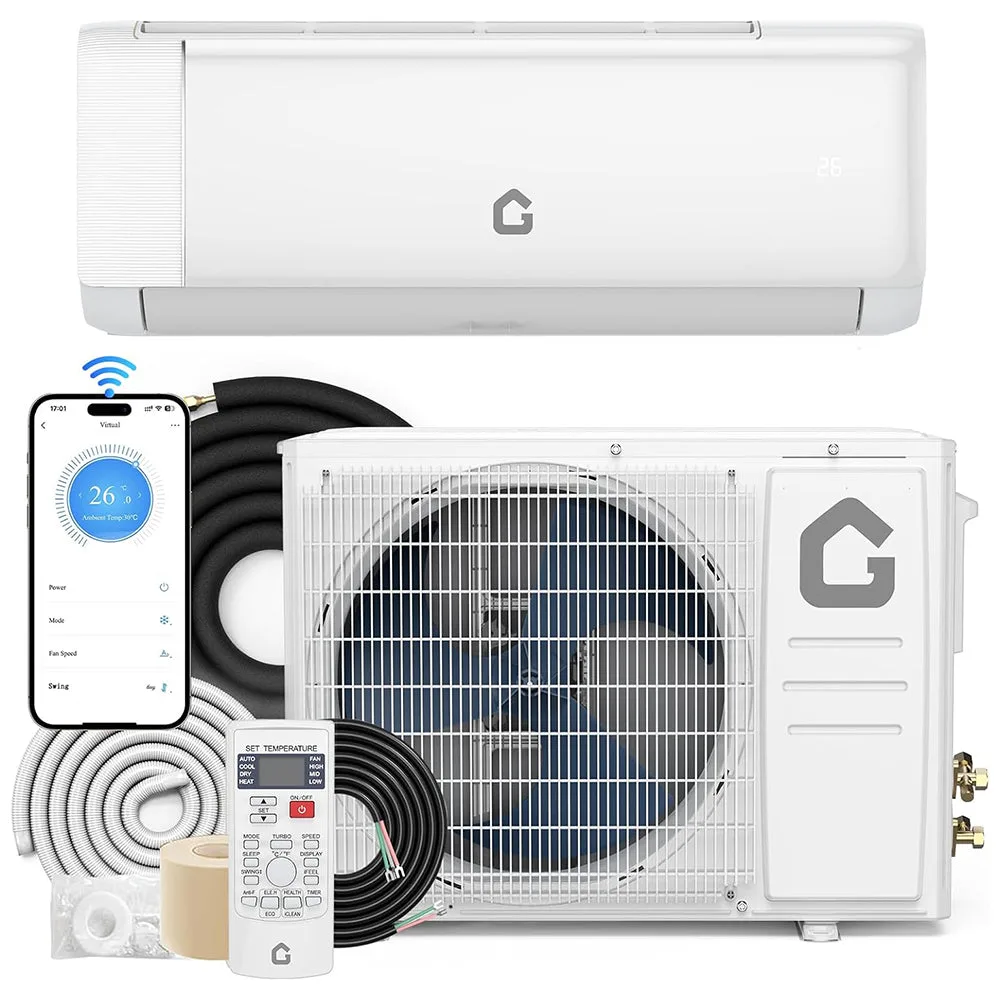
Garvee 12,000 BTU Mini Split System
Ships with a complete installation kit — bracket, line-set cover, and mounting hardware — built for the DIY-plus-pro workflow above, with SEER 18+ efficiency and WiFi smart control.
Check current priceChoosing the right approach for your home
Not every home benefits equally from a mini split, and the right installation approach depends on your specific situation more than a generic checklist.
You have no existing ductwork
If your home relies on radiators, baseboard heat, or window units, adding central AC means installing ductwork from scratch — a major expense. A mini split needs only a small refrigerant line and a wall pass-through, which is why it's the go-to option for older homes, additions, and converted spaces. Homes without existing ducts can face significant ductwork installation costs for central AC that mini splits avoid entirely.
You want room-by-room control
If you only need to cool the bedrooms at night or the home office during the day, a mini split's zone control means you're not paying to condition rooms nobody is using. Mini splits deliver cooled air directly to the room with no ductwork losses, unlike central AC systems that lose a meaningful share of conditioned air through duct leaks.
You're comparing against a window or portable unit
Window and portable ACs need zero permanent installation, but they trade that convenience for lower efficiency and, in the case of window units, a permanent hole in your window frame. If efficiency and quiet operation matter more than upfront simplicity, the installation effort of a mini split pays off in lower running costs over time.
Mini split vs. central AC vs. window AC installation
| Factor | Mini Split | Central AC | Window AC |
|---|---|---|---|
| Ductwork required | No | Yes | No |
| DIY-friendly steps | Bracket, pass-through, outdoor placement | Minimal — mostly professional | Full self-install |
| Licensed pro required for | Refrigerant evacuation, electrical | Full ductwork and refrigerant system | None |
| Typical efficiency | SEER 20-35+ | Varies with ductwork condition | CEER 12-15 |
| Zone control | Yes, per room | Whole-home only (without zoning) | Single room only |
For a deeper breakdown of which system fits which home, see our full mini split vs. window AC vs. portable AC comparison.
Common installation mistakes and how to avoid them
- Skipping the pass-through slope. A wall hole drilled level (instead of sloped toward the exterior) lets condensation drain back inside instead of outside.
- Undersizing the outdoor unit clearance. Crowding the condenser against a fence or wall restricts airflow and reduces cooling efficiency.
- DIY-charging the refrigerant lines. Attempting to evacuate and charge lines without a vacuum pump and gauge set is the most common source of long-term performance loss and voided warranties.
- Ignoring filter maintenance. Mini split indoor unit filters need cleaning roughly every 2-4 weeks during cooling season, more often than a central AC filter, and a clogged filter drags down efficiency fast.
- Skipping the permit check. An unpermitted electrical circuit can complicate insurance claims and home resale disclosures later.
Alternatives if a mini split isn't the right fit
If your home already has well-maintained ductwork, central AC installation may come out cheaper than a mini split, since you're not paying a ductwork premium either way. If you're renting or need a fully removable system, a window or portable AC skips installation altogether, at the cost of higher operating expenses. For a full rundown of models and buying criteria across efficiency, room size, and budget, see our complete mini split AC buyer's guide.
The verdict on installing a mini split yourself
The physical installation — bracket, pass-through, and outdoor placement — is genuinely DIY-friendly for a homeowner with basic tools and patience. Budget for a licensed technician to handle refrigerant evacuation and the electrical hookup, and you'll have a system that runs efficiently and keeps its warranty intact. Garvee's mini split kits are built around exactly this workflow, with the mounting hardware and line-set cover included.
Shop Garvee mini split systemsThis guide is for general informational purposes and reflects manufacturer and industry guidance current as of the last reviewed date. Refrigerant handling and electrical work are regulated in most jurisdictions — confirm local permit and licensing requirements before starting any installation, and hire a licensed HVAC technician and electrician for the steps this guide identifies as requiring professional work.
Recommended for you
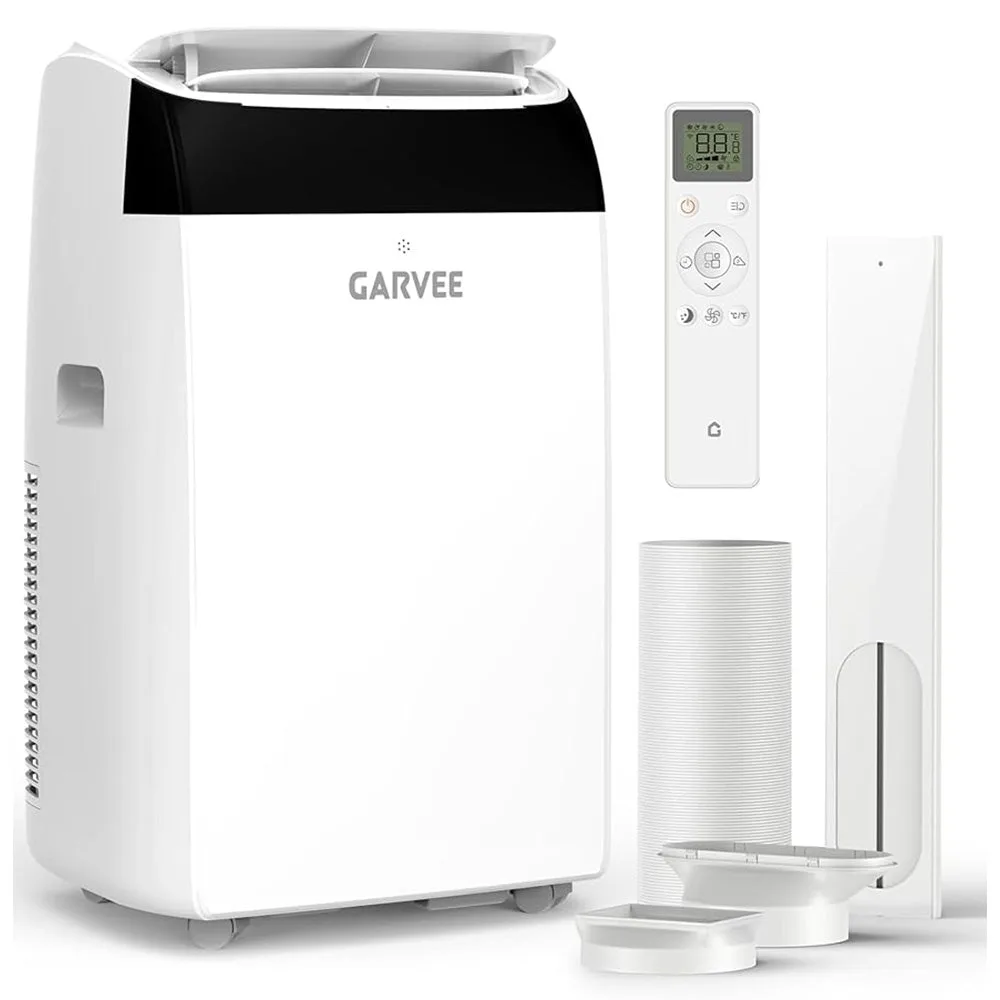 Portable Air Conditioner Guide 2026: Best Sizing & Setup Tips
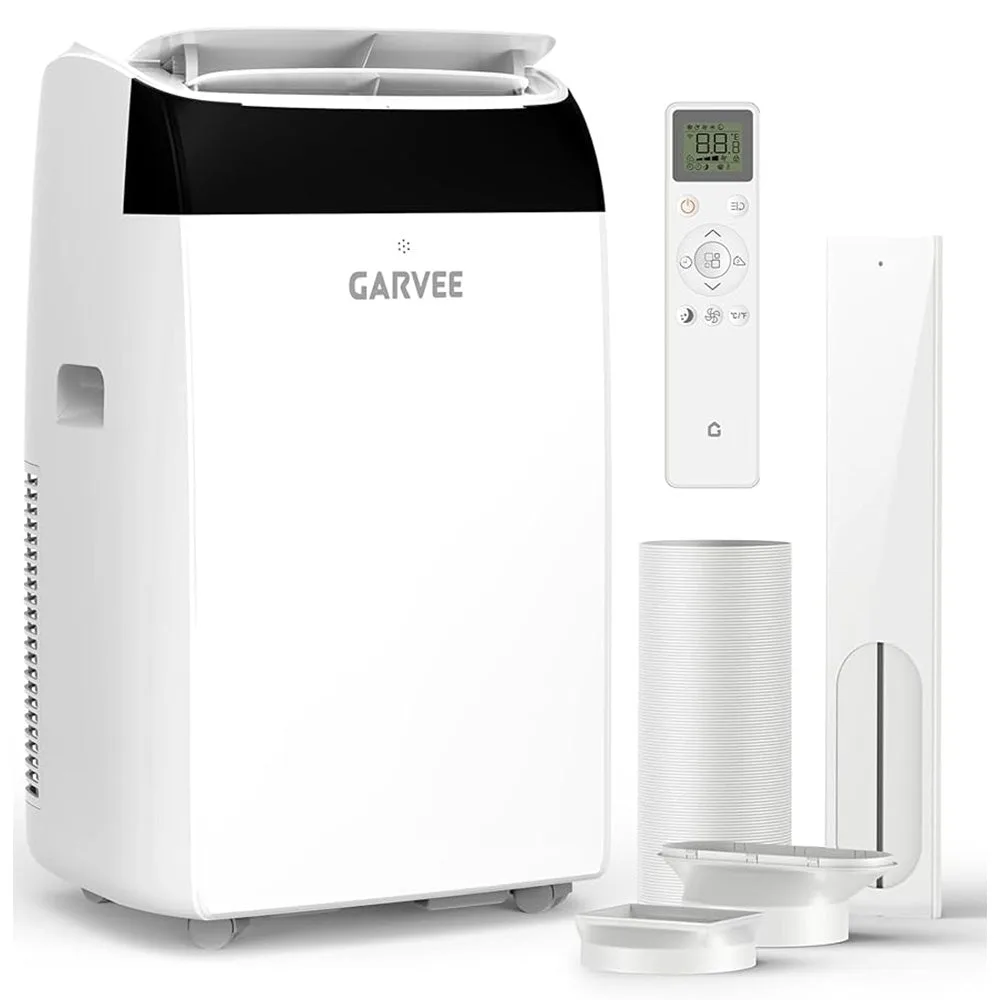 Garvee AC Review 2026: Best Portable & Mini-Split Cooling
 Farmers Defense: Complete UPF 50+ Sun Safety Guide (2026)
 Custom LED Neon Signs: Planet Neon's Top UK Brand (2026)
 Farmers Defense Review: ProMesh Sleeves Tested for Garden and Farm Work
 How to Make Orchid Arrangements Last Longer: 7 Expert Tips