Why reliable internet is the new “must-have” for RV travel
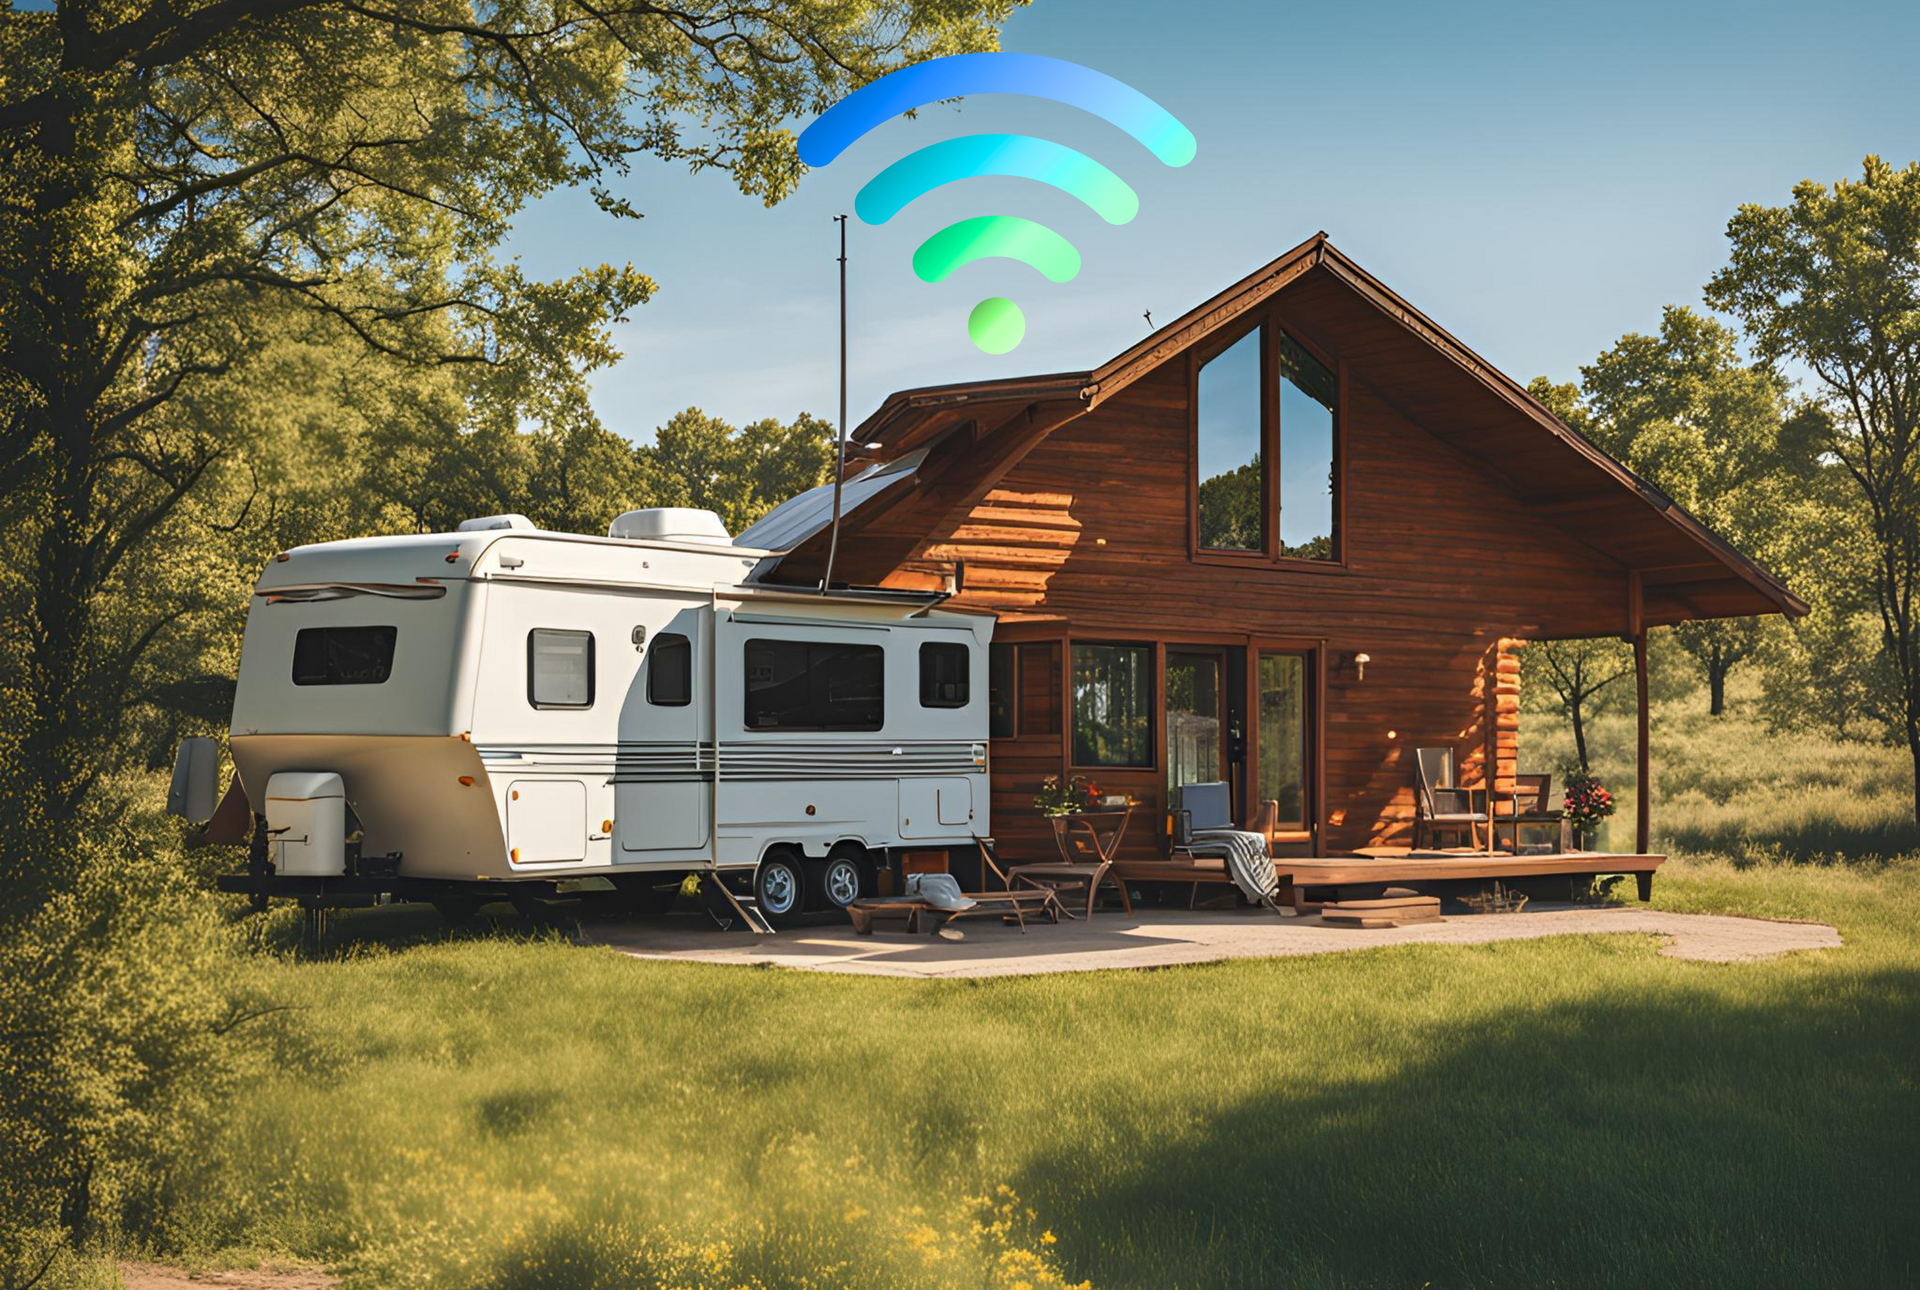
In today’s digital age, having reliable internet access while on the road is essential for RV travelers. Whether you’re working remotely, streaming your favorite shows, or staying connected with family and friends, a stable connection is crucial. This is where SwiftNet Wifi comes into play, offering seamless connectivity that enhances your travel experience.
RV life used to be simple: fuel, water, a good site, and you were set.
Now? The whole thing breaks the moment your internet breaks.
Not in a “I can’t scroll social media” way—but in a real, day-to-day functionality way:
- Work stops. Zoom calls freeze. VPN drops. Client files won’t upload. Your calendar won’t sync.
- Navigation gets harder. Maps load slowly (or not at all). Detours become stressful. Weather and road alerts lag.
- Safety takes a hit. No signal can mean no quick access to emergency info, roadside assistance, or even basic communication.
- Campground logistics become annoying. Online check-ins, gate codes, reservation changes—many parks assume you’re connected.
- Entertainment is no longer “extra.” Streaming, kids’ tablets, and smart TVs are part of how families survive long drives and long nights.
That’s why when people ask “What’s the best internet for RVers?” they’re usually not asking for one magic device. They’re asking for the setup that gives them the best mix of:
- Coverage (where it works)
- Speed (download and upload)
- Latency (how responsive it feels—important for video calls and gaming)
- Stability (does it hold a connection for hours?)
- Support (who helps when it goes sideways?)
- Predictable costs (no surprise overages or “it was unlimited until it wasn’t” moments)
And to be clear: no single option is perfect everywhere. Anyone promising that is selling you a dream.
What you can do is choose the most reliable, practical solution for most RV travel patterns—and then build a small backup plan for the rare dead zones.
That’s where SwiftNet WiFi comes in, and it’s the focus of this review. With SwiftNet WiFi, you can ensure that your internet needs are met while enjoying the freedom of the open road.
Quick overview: What SwiftNet WiFi is (and who it’s for)
In simple terms, SwiftNet WiFi is a mobile internet service aimed at RV travelers and rural users, positioned around high-speed connectivity and “unlimited” data plan messaging.
It’s designed for people who regularly find themselves in places where home-style internet isn’t available—like:
- Full-time RVers who move every week or two
- Weekend RV travelers who camp outside major cities
- Boondockers who stay near (not deep beyond) cellular coverage
- Remote workers who need stable internet for calls, files, and cloud apps
- Rural households that don’t have decent cable/fiber options
From a “category” standpoint, SwiftNet is best understood as part of the cellular-based RV internet world (as opposed to satellite-first options like Starlink). That matters because cellular and satellite solve different problems:
- Cellular tends to be great along highways, in towns, and in many established campgrounds—until coverage or congestion becomes the bottleneck.
- Satellite can shine in remote regions with poor cellular—but needs sky visibility and can be more setup-dependent.
This article will walk you through what to realistically expect from SwiftNet WiFi, including:
- How it fits into common RV internet setups
- What to watch for with “unlimited” plans
- Hardware decisions that matter more than most people think
- Day-to-day usage tips that keep your connection stable
- Comparisons: SwiftNet vs Starlink, and SwiftNet vs Verizon/AT&T/T-Mobile options
- When public campground Wi‑Fi helps—and when it’s a trap
Your internet options on the road (and why most RVers end up using a hybrid setup)
Before you decide if SwiftNet WiFi is “the best,” it helps to zoom out and understand the four internet buckets most RVers rotate through.
1) Cellular internet (most common, most flexible)
Cellular internet is the default for RV travelers because it’s:
- Fast to set up
- Works while traveling (depending on device/plan)
- Often strong in towns and along interstates
The catch is that cellular depends on two things you can’t fully control:
- Tower coverage (do you have signal?)
- Tower congestion (are you sharing that tower with 200 other campers streaming Netflix?)
This is where RV reality hits: many “rural” campsites are exactly the places where cellular can be weakest—valleys, forests, canyons, far from towers.
SwiftNet WiFi generally fits into this category: an RV-friendly cellular internet solution that’s meant to keep you connected while traveling and camping.
2) Satellite internet (the big coverage play)
Satellite used to mean slow, high-latency internet that was basically useless for video calls.
Low Earth Orbit (LEO) satellite internet changed that by putting satellites much closer to Earth, improving latency and performance. Starlink is the benchmark most RVers compare against today.
Satellite’s biggest advantage: it can work where cellular doesn’t.
Its biggest limitation: it needs a clear view of the sky. Trees, canyon walls, and tight campsites can turn it into a frustrating experience.
3) Public Wi‑Fi (campgrounds, cafes, KOA, libraries)
Public Wi‑Fi is convenient, and it can save you in a pinch.
But it’s often:
- Slow (especially at night)
- Unreliable (drops during calls)
- Hard to reach from your rig
- Potentially risky without basic security precautions
4) Why hybrid setups win (cellular + satellite + public Wi‑Fi backup)
Most RVers who rely on internet for work eventually build redundancy:
- Primary connection (cellular or Starlink)
- Secondary backup (different carrier, phone hotspot, or Starlink)
- Emergency/occasional (public Wi‑Fi)
SwiftNet WiFi is best evaluated as your primary (or secondary) cellular solution, and it can also complement satellite nicely if you want the “best of both worlds.”
SwiftNet WiFi plans and “unlimited data” claims: what to look for before you buy
“Unlimited” is one of the most misunderstood words in mobile internet.
In the real world, unlimited often means: no hard data cap, but performance can change based on network rules and congestion.
Here are the main “gotchas” to understand before buying any unlimited cellular plan (including SwiftNet-style plans):
What “unlimited” can include behind the scenes
- Deprioritization: Your traffic may be slowed during congestion compared to higher-priority users.
- Network management: Speeds can vary dramatically at busy times (even if you have full bars).
- Video throttling: Streaming might be limited to certain resolutions unless you change settings or use supported options.
- Fair use policies: Some plans have soft limits or usage thresholds that trigger slower speeds.
None of this automatically makes a plan bad—it just means you should buy with eyes open.
What to verify before you purchase
Use this as a “don’t get burned” checklist:
- Which network does it run on? (Verizon, AT&T, T-Mobile, or a mix)
- Is hotspot/router use allowed? Some plans are phone-only; RVers often need a hotspot/router-friendly plan.
- Any caps or soft limits? If yes, what happens after you hit them?
- Typical real-world speeds? Ask for expectations based on your travel regions, not best-case marketing numbers.
- Contract terms: Month-to-month vs long commitment.
- Return window: You want time to test it in your real locations.
- Device fees: Is hardware included, rented, or purchased separately?
Matching a plan to real RV usage
A weekend traveler checking email is very different from a remote worker running cloud tools all day.
Quick reality check by usage type:
- Remote work (Zoom/Teams): needs stability and decent upload; latency matters.
- Cloud backups / file uploads: can eat data fast and exposes weak upload speeds.
- Streaming + multiple devices: requires more bandwidth and more consistency.
- Families: add tablets, smart TVs, game downloads, and background updates—it adds up quickly.
If you’re a full-time RVer, the monthly cost often makes sense if it prevents even one “lost workday” a month.
Next: the part most people underestimate—hardware.
Hardware that makes or breaks RV internet (where SwiftNet fits)
A great plan with weak hardware can feel like bad internet.
And average service with the right hardware can feel surprisingly good.
Here are the core RV internet hardware categories (and where SwiftNet typically fits).
1) Smartphone hotspot (easy, but limited)
Pros:
- You already own it
- Great for quick backups
- Works well in strong-signal areas
Cons:
- Battery drain and heat (especially in summer)
- Limited range inside an RV (metal + insulation can block signal)
- Not ideal for multiple devices long-term
A phone hotspot is best as a backup, not your primary if you work remotely.
2) Hotspot devices (MiFi / Jetpack style)
Pros:
- Dedicated device (better than cooking your phone)
- Usually simple setup
- Portable
Cons:
- Antenna performance varies
- May struggle in fringe areas
- Not as powerful as dedicated routers for serious setups
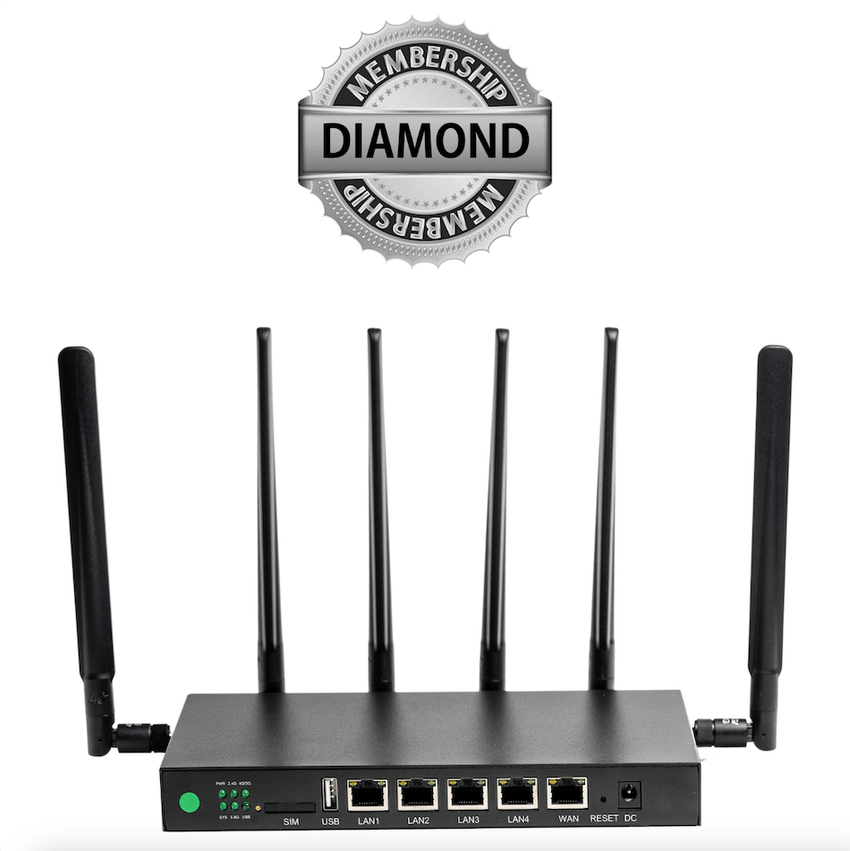
3) Cellular routers (the “serious RVer” upgrade)
Pros:
- Better radios and antennas (often)
- More stable for many devices
- Supports external antennas more easily
- Better control and diagnostics
Cons:
- Costs more
- Setup can be more involved
4) External antennas (often the difference-maker)
External antennas help because RVs are signal-hostile environments. Antennas can:
- Improve weak signal in fringe areas
- Reduce dropouts
- Increase usable speed (not always, but often)
- Stabilize connections for calls and uploads
Roof-mounted and window-mounted options exist. The key idea is simple: elevation and placement matter.
5) Power considerations (especially for boondocking)
If you work off-grid, your internet gear needs stable power:
- 12V setups can be efficient
- Inverters add loss but are common
- Battery banks help smooth power and keep gear running during short outages
Ideal RV internet structure (simple version):
- A dedicated hotspot/router (your “internet engine”)
- External antenna support (your “signal booster” without the scammy marketing)
- Clean power plan (so it doesn’t randomly reboot)
That brings us to what using SwiftNet WiFi is like in practice.
Setup and day-to-day use: what it’s like traveling with SwiftNet WiFi
Most RVers don’t want a networking project. They want internet that turns on, stays on, and works across devices.
A practical SwiftNet-style onboarding flow typically looks like:
- Order the service (choose a plan and confirm network coverage where you travel)
- Activate the device/SIM (follow activation steps provided)
- Place the device in the RV (more on placement below)
- Connect laptops, phones, smart TVs
- Run speed tests and confirm you can do your “must-do” tasks (email, calls, uploads)
Tips that usually improve performance immediately
- Place the device near a window (RV walls can block signal more than you think)
- Avoid interference zones (microwaves, crowded electronics cabinets, some inverters)
- Use an external antenna if supported (especially in rural or wooded areas)
- Reboot when you change locations (a simple reset can help the device re-register optimally)
- Give it time to settle after arriving at a new campsite (networks can behave differently as the device reconnects)
How travel patterns affect performance
- Moving between towns: you’ll notice speed changes as you hop towers.
- Valleys and canyons: even “good plans” can struggle due to terrain blocking signal.
- Popular campgrounds: evenings can get rough because everyone piles onto the same tower.
Build a backup routine (even if SwiftNet is your primary)
If internet equals income, you want a boring, repeatable plan for bad-signal days:
- Keep a secondary hotspot (phone or separate device)
- Download offline maps
- Keep critical work files available offline when possible
- Schedule heavy uploads for mornings (often less congested)
What “good enough” looks like for most RVers
A realistic target is:
- Navigation and basic communication: always
- Remote work + streaming: most days
- Occasional dead spots: expected, especially deep rural
Performance expectations in rural areas and campgrounds
The biggest variables for any cellular-based RV internet (including SwiftNet WiFi) are:
- Carrier coverage in that area
- Terrain and distance to towers
- Congestion at that time of day
- Your device quality
- Your antenna/placement
Rural reality check
Even strong plans can slow down in rural areas. Sometimes it’s because you’re far from a tower. Other times it’s because you’re near a tower—but it’s overloaded and underbuilt for seasonal RV traffic.
This is why redundancy matters if you work on the road.
Campground patterns you can plan around
- Evenings are usually worst (streaming + social media + kids on tablets)
- Mornings are often better (uploads and video calls can be smoother)
If you can control your schedule, do heavy work early.
How to test and optimize like a practical person
- Run speed tests at different times of day
- If your router supports it, check signal metrics (like RSRP) and band info
- Try moving the device a few feet (seriously—window vs cabinet can be night and day)
- Consider raising or repositioning antennas if you’re on the edge of coverage
Practical benchmarks by activity (rule-of-thumb)
These are general guidelines (not guarantees):
- Navigation / email / messaging: works even at low speeds, as long as it’s stable
- Video calls (Zoom/Teams): stability + upload matters more than big download numbers
- Streaming: needs consistent throughput; evenings can cause buffering
- Uploads (cloud backups, large files): exposed by weak upload speeds and congestion
SwiftNet WiFi vs Starlink: which one is actually better for RVers?
This is the comparison most people care about.
What RVers actually care about
- Coverage footprint
- Latency (video calls)
- Consistency
- Setup complexity
- Total monthly cost + hardware cost
- How it behaves in real campsites (trees, mountains, crowded parks)
SwiftNet-style cellular strengths
- Quick setup (turn it on, connect devices)
- Often strong in towns and along highways
- Can be a great “daily driver” for typical RV routes
- Depending on hardware/plan, may work better for travel days than satellite
Starlink strengths
- Can be excellent where cellular is weak or nonexistent
- Often strong throughput in remote areas
- Latency is generally good compared to older satellite systems (thanks to LEO)
Limitations that matter
- Starlink needs clear sky view. Trees can ruin your day.
- Cellular struggles in true dead zones or during heavy congestion.
A simple recommendation framework
Choose SwiftNet first if:
- You spend a lot of time in towns, near highways, and in established campgrounds
- You want simpler daily use
- You’d rather solve most problems with placement/antenna tweaks than “find a clear sky”
Choose Starlink first if:
- You regularly camp far from towns where cellular coverage drops off
- You’re often in wide-open areas with good sky visibility
Run both (hybrid) if:
- You work full-time on the road and can’t afford downtime
- You travel through mixed terrain (forests + deserts + mountains)
- You want one connection to cover the other’s weak spots
SwiftNet WiFi vs Verizon/AT&T/T-Mobile hotspots and routers
This comparison is really about buying a packaged RV/rural internet service versus going directly to the carrier.
What you’re really comparing
- SwiftNet-style provider: convenience, bundled guidance, simplified selection
- Carrier-direct: potentially clearer plan rules, store-level support, wide device selection
Pros of going direct to a carrier
- Easier to walk into a store and get help
- Clearer official terms (usually)
- More plan/device choices
Pros of SwiftNet-style providers
- Can simplify the “what should I buy?” decision for RV/rural use
- Often marketed specifically for travelers who don’t want to decode carrier fine print
- May provide a more RV-friendly purchasing flow (depending on the offering)
Hardware matters more than the logo
Many RVers start with a Jetpack/MiFi device and eventually move to a router + external antennas when they realize:
- Better antenna support often equals better stability
- Better stability equals fewer ruined work calls
Decision guide if you already have carrier plans
If you already have strong Verizon/AT&T/T-Mobile service on your phone(s), ask:
- Is my issue coverage or congestion?
- Do I need a dedicated device so I’m not relying on my phone?
- Would an external antenna improve my weak-signal campsites?
- Would adding a second carrier reduce downtime?
SwiftNet may add value if it simplifies your setup or gives you a plan/device combination that matches RV use better than what you pieced together.
Public Wi‑Fi at KOA and campgrounds: when it helps (and when it hurts)
Public Wi‑Fi can be useful—but only if you treat it like what it is: a shared connection meant for light use.
When public Wi‑Fi is actually helpful
- Quick downloads (when it’s not crowded)
- Light browsing and email
- Emergency backup when cellular is down
- Uploading something small when you’re out of options
Why it often fails RVers (especially remote workers)
- Too many users at night
- Weak signal at your site (Wi‑Fi doesn’t travel well through RV parks)
- Captive portals that break connections
- Unstable performance during video calls
Basic security rules (non-negotiable)
If you use public Wi‑Fi:
- Use a VPN
- Avoid sensitive logins when possible
- For banking or anything critical, use your personal hotspot instead
Best practice: treat campground Wi‑Fi as your tertiary backup, not your primary.
Who SwiftNet WiFi is best for (and who should skip it)
SwiftNet WiFi tends to make the most sense for RVers who want a purpose-built mobile internet option and spend a lot of time in areas where cellular coverage is present but inconsistent without the right setup.
Best-fit profiles
- Full-time RVers who need consistent connectivity
- Remote workers who live in cloud apps and video meetings
- Families with multiple devices streaming and browsing
- Travelers in semi-rural areas who want an “RV-friendly” internet solution
Not ideal profiles
- People who boondock far off-grid most of the time (true cellular dead zones)
- Users who need guaranteed high upload for constant live streaming
- Travelers unwilling to optimize placement or use external antennas/routers when needed
The coverage-first rule (don’t skip this)
Your carrier network matters more than the brand name.
Before you buy anything, confirm:
- Which network the service uses
- Whether that network is strong where you actually travel
A practical buying checklist (so you don’t waste money)
Use this checklist before you click “Buy now,” and you’ll avoid most of the expensive mistakes RVers make.
1) Coverage
- Confirm which network SwiftNet uses
- Check coverage on your most common routes, parks, and regions (and don’t rely on one map—ask other RVers too)
2) Hardware
Decide what you’re building:
- Simple setup: hotspot/MiFi device
- Better long-term setup: cellular router
- If you camp rural often: plan for external/roof-mounted antennas
3) Usage (estimate your real data needs)
Be honest about:
- Work calls per week
- Cloud backups
- Streaming hours
- Number of connected devices
4) Backup (especially if internet = income)
- Keep a phone hotspot ready, or a second carrier option
- Download offline maps
- Keep critical work files accessible offline
5) Plan terms and return policy
- Confirm any deprioritization/fair use rules
- Confirm router/hotspot allowed use
- Confirm your return window so you can test in real conditions
Buy now (after you verify coverage + plan terms + return policy). If SwiftNet matches your routes and you set it up with the right hardware, it can be a strong primary connection for RV travel.
Conclusion: the “best” RV internet is the one that matches your routes and work needs
SwiftNet WiFi can be a strong internet option for RV travelers who want high-speed connectivity for travel and rural areas—especially when paired with the right hardware and expectations.
The key idea is simple:
- Internet on the road is variable.
- You can improve your odds with better placement, antennas, and a real router setup.
- If you work remotely, you should still keep a backup connection.
Your next step is straightforward:
- Verify which network SwiftNet uses and check coverage where you travel.
- Choose the right hardware (hotspot vs router + antennas).
- Decide whether SwiftNet will be your primary connection—or part of a hybrid setup alongside satellite.
READ MORE: homarosa.com