Knowing how to apply self-tanner at home is the difference between a natural-looking bronze and a streaky disaster. The formula matters less than most people think - what actually determines the result is technique, prep, and timing. Beginners tend to make the same five mistakes, and fixing them is straightforward once you know what they are.
This step-by-step guide covers everything from 24-hour prep to final rinse, with specific tips for problem areas (knees, ankles, face, and hands) that cause most first-timer frustration.
What You Need Before You Start
Before touching the product, make sure you have:
- A tanning formula (mousse for beginners - the guide bronzer helps you see coverage; drops for experienced users)
- A tanning mitt - not optional; bare hands create blotchy patches and stained palms
- An exfoliating mitt or scrub for the day before
- Barrier cream or petroleum jelly for knees, elbows, ankles, knuckles, and hairline
- Loose dark clothing to wear while developing
- Time - don’t start if you have plans in the next 4-8 hours
How to Apply Self-Tanner at Home: Prep (Day Before)
Step 1: Wax or shave. Hair removal should happen 24 hours before tanning, not after. Shaving over a developed tan strips it unevenly; doing it before gives freshly smooth skin that absorbs DHA evenly.
Step 2: Exfoliate. This is the step most beginners skip and regret. Dead skin cells absorb DHA faster than fresh skin - which means rough, dry areas go darker and patchy. Use a deep exfoliating mitt (like the Sunna Pro Deep Exfoliating Mitt, $9) in circular motions, focusing on elbows, knees, ankles, and feet.
Step 3: Shower with a sulfate-free cleanser. Avoid soap with moisturizing agents or heavy oils - these leave a residue that blocks DHA absorption. Rinse thoroughly.
Step 4: Skip certain products. After your prep shower, avoid body lotion (except on very dry areas like heels and knuckles), deodorant, perfume, and any oil-based product. These all interfere with DHA and cause patchiness.
How to Apply Self-Tanner at Home: Application Day
Step 1: Dry skin completely. Moisture is the enemy of even DHA application. Wait at least 30-60 minutes after your shower or use a cool hair dryer to ensure skin is fully dry before applying.
Step 2: Apply barrier cream to problem zones. Put a thin layer of petroleum jelly or barrier cream on: the backs of your hands between knuckles, your cuticles, elbows, knees, ankles, heels, and your hairline. These areas absorb more DHA and will go dark without protection.
Step 3: Load the mitt. For mousse: squeeze a golf ball-sized amount onto the mitt. More product does not equal a darker tan - it creates streaks. Load the mitt lightly and add more if needed.
How to Apply Self Tanner at Home: Section-by-Section
Work in sections and always blend upward to avoid crease lines:
Legs
Start at the ankle and work up in circular motions. Cover the lower leg, then the upper leg, blending at the knee. Go lighter on the knee itself - the protruding bone absorbs more.
Use a very light touch at the back of the knee. This is one of the most common dark spots. Apply with the mitt almost dry in this area and blend thoroughly.
Stomach and Torso
Apply in circular motions from hip to ribcage, then long blending strokes upward. For the sides, extend the arm upward and apply from armpit to hip.
Arms
Start at the wrist (lightly) and work upward to the shoulder. Blend at the elbow with extra care. For the underarm, apply minimally - the skin folds here can cause lines.
Back
Unless someone is helping you, use a back applicator or extend the mitt as far as you can. Most people skip the center of the back entirely and accept the coverage gap - it’s rarely visible.
Hands and Feet
Hands and feet deserve special treatment:
Feet: Apply a small, diluted amount (mix with a drop of moisturizer on the mitt) to the top of the foot, fading out at the toe joints. Apply nothing to the soles.
Hands: After finishing the body, remove the mitt and use a tiny amount of leftover product (from the inside of the mitt) to lightly buff the backs of your hands. Then immediately wash your palms.
Face: If you’re applying to your face, switch to a face-specific formula (the Sunna Pro Face Tan Water, $19.50) or heavily dilute your body formula. Apply with a clean cotton pad and blend outward toward the hairline.
How Long to Wait Before Rinsing
Development time depends on your formula:
| Formula type | Minimum time | Maximum time |
|---|---|---|
| Express mousse | 1 hour | 4 hours |
| Clear express solution | 1 hour | 4 hours |
| 12-Hour solution | 6 hours | 12 hours |
| Gradual tan | No rinse needed | Apply as lotion |
Darker result = longer development time (up to the stated maximum). Don’t exceed the maximum - over-developed DHA can look greenish on some skin tones.
When you rinse, water runs brown from the guide bronzer - this is the cosmetic color washing away. The actual tan (DHA) stays. Your tan will continue to slightly deepen for another 24-48 hours after rinsing.
Aftercare: How to Make Your Tan Last
How you care for the tan after it develops determines whether it lasts 5 days or 10.
- Moisturize daily with a non-oil lotion - oil breaks down DHA significantly faster
- Pat dry after showers instead of rubbing with a towel
- Use lukewarm water - hot water opens pores and accelerates fading
- Avoid exfoliating until you’re ready to remove the tan
- Skip long soaks in pools, baths, or hot tubs
How to Apply Self-Tanner at Home: Common Mistakes Fixed
Green or grey cast after rinsing: Usually from warm-toned skin tones reacting with warm-toned DHA. Switch to the Sunna Pro Olive Collection which uses a neutral-to-cool DHA base.
Orange result: Over-development or wrong formula for your skin tone. Darker formulas (like Colour Me Dark) should be used for shorter development time on fair skin.
Streaky arms: Usually from application direction. Arms should be done with circular motions first, then long strokes from wrist to shoulder.
Stained palms: Forgot to wash hands immediately after application. Use a cotton round soaked in micellar water to remove from palms, or wait for it to fade over 2-3 days.
Missed spots on the back: Use a back applicator or have someone help. This is the one area where a $15 back applicator is genuinely worth it.
Choosing the Right Formula When You Learn How to Apply Self Tanner at Home
The formula you choose affects both the application process and the result. Here’s a quick guide:
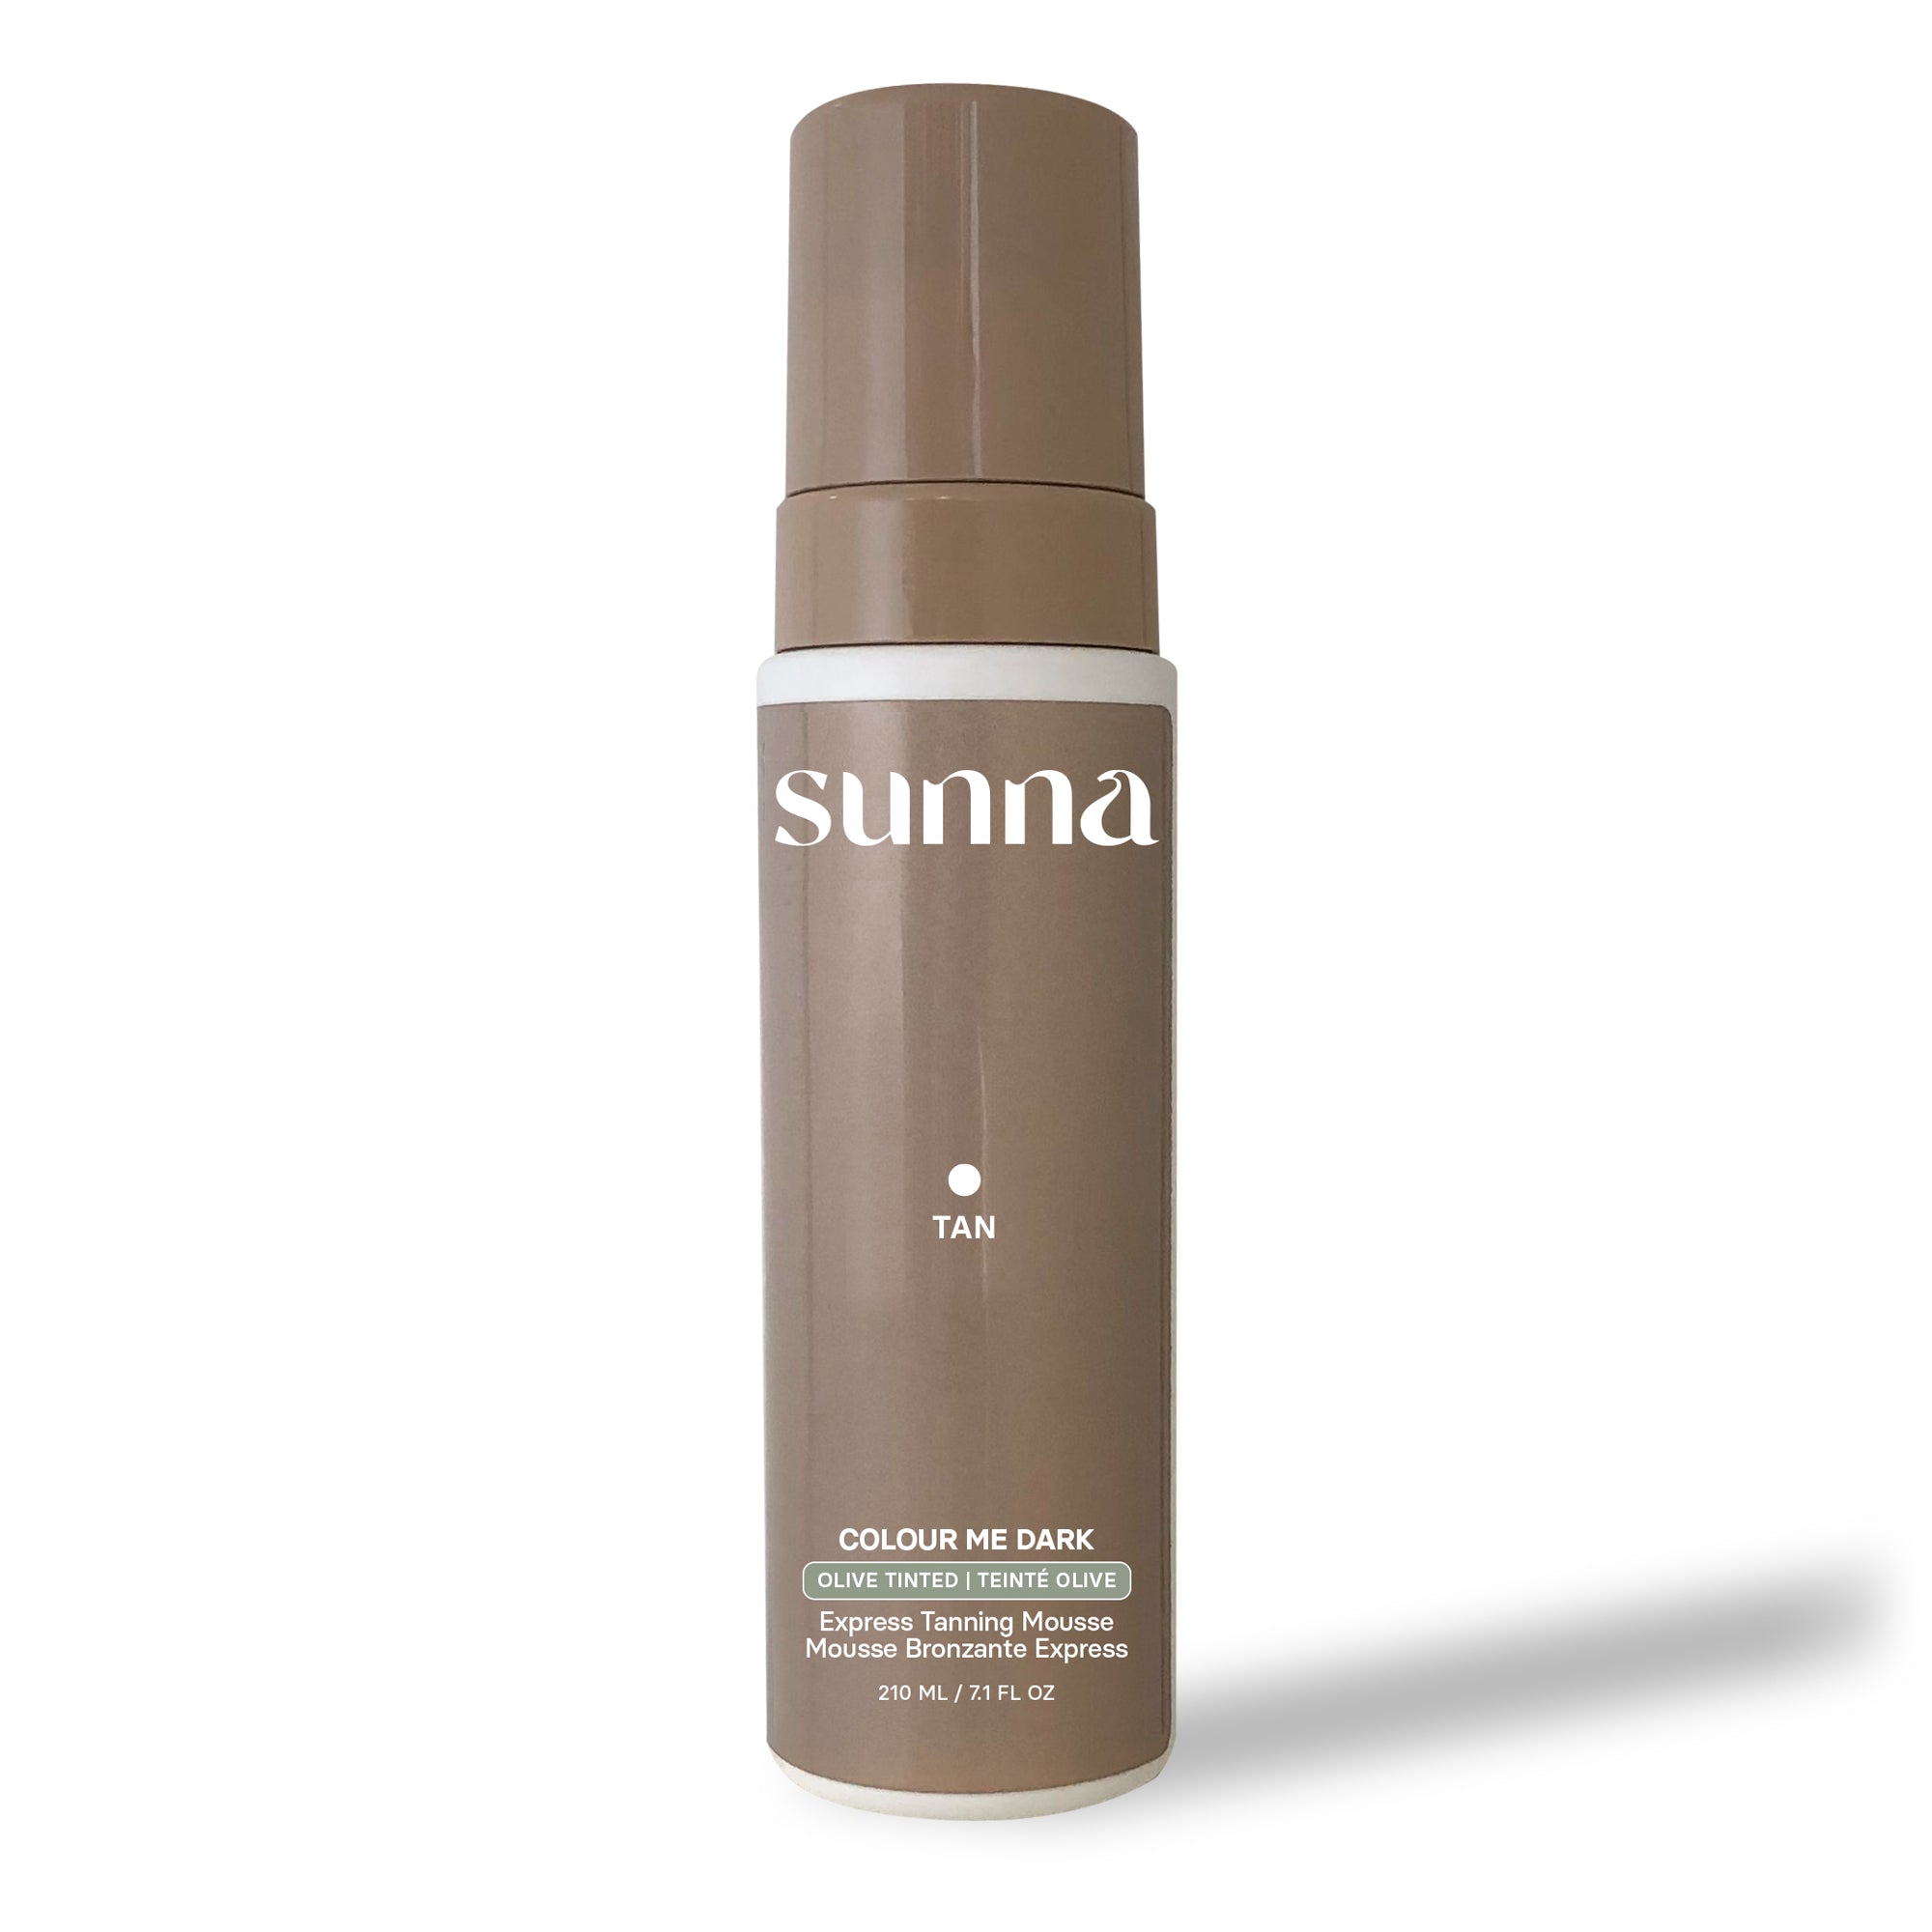
For beginners: Start with a mousse. The guide bronzer lets you see exactly where you’ve applied, the foam texture is forgiving, and most beginner mistakes are easier to spot and fix before they set. Sunna Pro’s Colour Me Dark Express Mousse ($25) or the Olive Collection Mousse ($25) are the best starting points.
For subtle results: Gradual tan lotion is more forgiving than mousse because the color builds slowly. You can stop reapplying once you reach your desired depth, and the lower DHA concentration means less risk of uneven development.
For experienced users: Bronzer drops mixed into your existing moisturizer give the most natural-looking result and the most control. Use 2-3 drops per application for light maintenance, 6-8 drops for a deeper build.
For face-only: Always use a facial-specific formula. Body tanning mousses contain higher DHA concentrations that can look unnatural on the face and may clog pores. The Sunna Pro Face Tan Water ($19.50) uses a diluted, skin-appropriate formula designed specifically for facial application.
Formula and development time are related: A darker formula (Colour Me Dark) requires shorter development time on fair skin compared to medium skin tones. If you’re fair-skinned, start with the minimum development time listed on the product and see the result before committing to longer sessions. You can always build depth over multiple applications.
FAQ: How to Apply Self-Tanner at Home
Can I apply self-tanner the day before an event?
Yes, but plan for 24-48 hours. Apply 24 hours before, rinse after development is complete, and the tan will have had time to settle and slightly deepen by event day.
How do I remove a patchy self-tan?
Soak in a warm bath for 20 minutes, then exfoliate with the mitt. Most self-tans dissolve significantly when skin is softened. For stubborn patches, apply oil (coconut or baby oil) to the area for 10 minutes before exfoliating.
Do I need a tanning mitt every time?
Yes. A mitt distributes product evenly without absorbing it. Bare hands absorb the formula before it reaches your skin, leaving stained palms and an uneven result.
For more on choosing the right Sunna Pro formula for your skin tone and the full product breakdown, see the Sunna Pro review. For a full overview of the spray tan process, see the spray tan at home guide.