Knowing how to take a cold plunge at home makes the difference between a productive cold therapy session and a panic-exit after 30 seconds. The physiological response to cold water immersion is intense and automatic - your body will resist. The technique is about working with that response rather than against it.
This guide covers everything a first-timer needs: temperature setup, breathing, protocol, what to expect, and how to build from a 2-minute first session to a consistent cold plunge practice.
How to Take a Cold Plunge at Home: What You Need First
Before your first session, make sure you have:
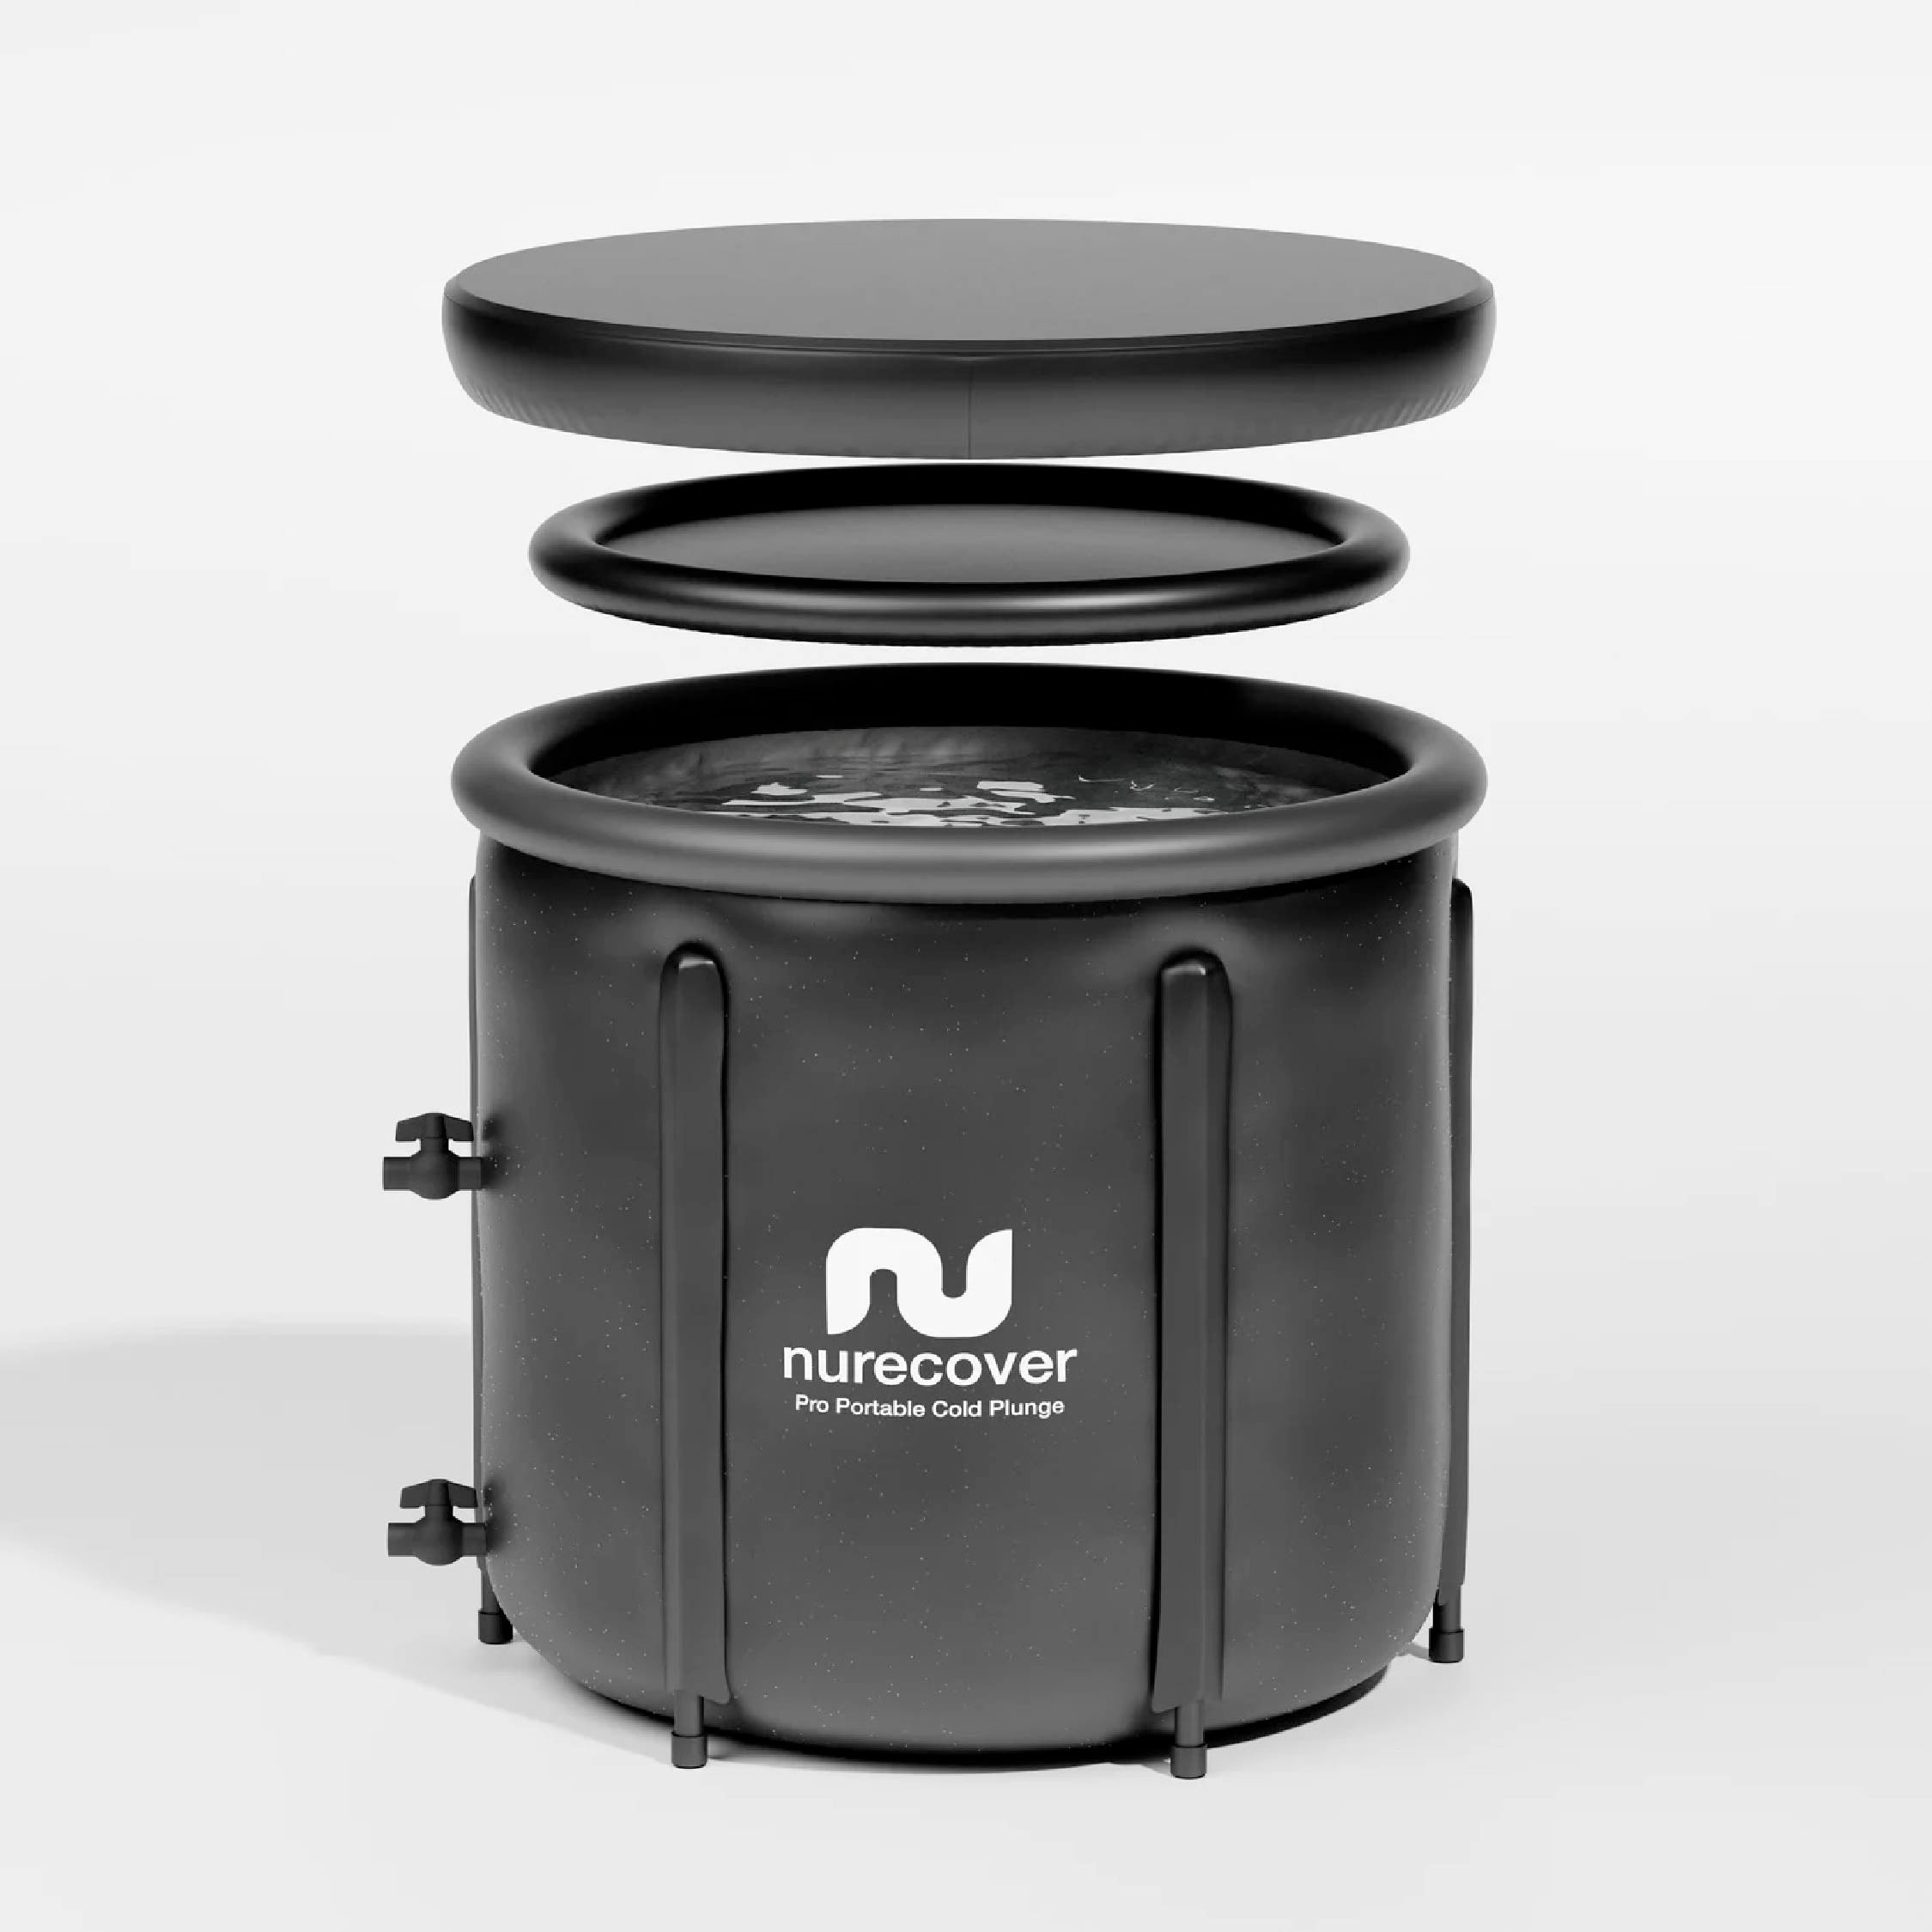
- A cold plunge tub - the Nurecover Pod ($99) is the most accessible entry point for at-home cold plunge. Larger systems like the Nurecover Plunge ($799) add temperature control for daily practitioners.
- Ice or a chiller - for an ice-based setup, plan for 40-80 lbs of ice per session. Reusable Ice Bricks ($39, 3-pack) reduce ice costs over time.
- A thermometer - the Floating Waterproof Thermometer ($9) lets you verify actual water temperature. “Cold” is not precise enough; you need to know whether you’re in the 55-65°F range (beginner-appropriate) or below 50°F (advanced).
- Loose warm clothing for after the session
- Time - plan 30-40 minutes total: setup, pre-session breathing, the immersion itself, and natural rewarm afterward
How to Take a Cold Plunge at Home: Target Temperature
Temperature is the most important variable for beginners:
| Temperature | Effect | Appropriate for |
|---|---|---|
| 65-70°F | Mild cold sensation, modest response | Not ideal - body adapts within seconds |
| 55-65°F | Strong cold response, manageable | Beginners, first 2-4 weeks |
| 50-55°F | Intense, full physiological response | Intermediate, 1+ month of practice |
| Below 50°F | Very intense, rapid response | Experienced, well-adapted |
For your first session, aim for 55-60°F. This temperature produces a real physiological response without the overwhelming intensity of sub-50°F plunges. Most people can hold 55-60°F for 2-3 minutes during their first session.
Ice math: Fill your tub with cold tap water, then add ice. A 44-lb bag of ice drops approximately 50 gallons of water by 10-15°F in typical indoor conditions. Check with a thermometer before getting in.
Breathing: The Most Important Technique
The first 30 seconds of cold water immersion trigger an involuntary breathing response - gasping, rapid shallow breaths, a feeling of constriction. This is the cold shock response, and it’s automatic. You cannot prevent it, but you can manage it.
Before you get in:
Do 2-3 minutes of slow, deep breathing - inhale for 4 counts, hold for 2, exhale for 6. This activates your parasympathetic nervous system slightly, which reduces the intensity of the initial cold shock response.
When you enter:
Get in slowly but don’t hesitate at each step. Sitting down in stages - feet first, then hips, then torso - gives your nervous system a second to register the temperature before full immersion.
In the first 30 seconds:
Your instinct will be to gasp and breathe rapidly. Instead, focus on slowing your exhales. You don’t need to prevent the sharp inhale - just extend the exhale. Long exhale → slightly less short inhale. Repeat.
Once your breathing slows (usually 30-60 seconds in):
This is the signal that your cold shock response is subsiding. Your breathing will naturally slow, and the sensation shifts from acute shock to a strong but tolerable cold. This is where the therapeutic benefit accumulates.
How to Take a Cold Plunge at Home: Session Protocol
Week 1-2: Building the Base
- Temperature: 55-60°F
- Duration: 2 minutes per session
- Frequency: 3-4 sessions per week (not daily - allow adaptation)
- Timing: Morning sessions (before caffeine) produce the strongest mental clarity effect; post-workout sessions (1+ hour after training) support muscle recovery
Enter slowly, control your breathing, stay for the full 2 minutes even if it’s uncomfortable. The discomfort is part of the adaptation - your cold shock response weakens over sessions, not over days.
Week 3-4: Extending Duration
- Temperature: 52-58°F
- Duration: 3-4 minutes
- Frequency: 4-5 sessions per week
By week 3, most people notice their breathing control improves significantly within the first 30 seconds. The cold still registers intensely, but the panic response is reduced.
Month 2 Onward: Full Protocol
- Temperature: 50-55°F
- Duration: 4-5 minutes
- Frequency: Daily if desired, or 5-6 times per week
Research suggests most of the physiological benefits from cold therapy are captured in the first 5 minutes. Sessions beyond 10 minutes in very cold water add risk without significantly more benefit.
How to Take a Cold Plunge at Home: Entry and Exit
Entry:
– Move deliberately but without long pauses at each stage
– Hands/wrists go in first - the wrists are highly sensitive and give your nervous system useful information before full body immersion
– Sit down in one fluid motion once at hip level
– Arms can stay above water for your first few sessions; submerging to the neck adds intensity
During:
– Keep your focus on breathing, not on the discomfort
– A fixed point to look at helps - staring at a wall or object reduces anxiety
– Count seconds in your head or use a timer
– Avoid talking during your first sessions - it disrupts breathing control
Exit:
– Stand up slowly (cold water reduces blood pressure temporarily; standing fast can cause dizziness)
– Do NOT get in a hot shower immediately - this negates much of the hormonal response you just triggered
– Dry off and put on warm clothing
– Allow your body to rewarm naturally for 5-10 minutes before any heat source
How to Take a Cold Plunge at Home: Contrast Therapy Option
Contrast therapy - alternating heat and cold - is the most evidence-supported cold therapy protocol. The standard approach:
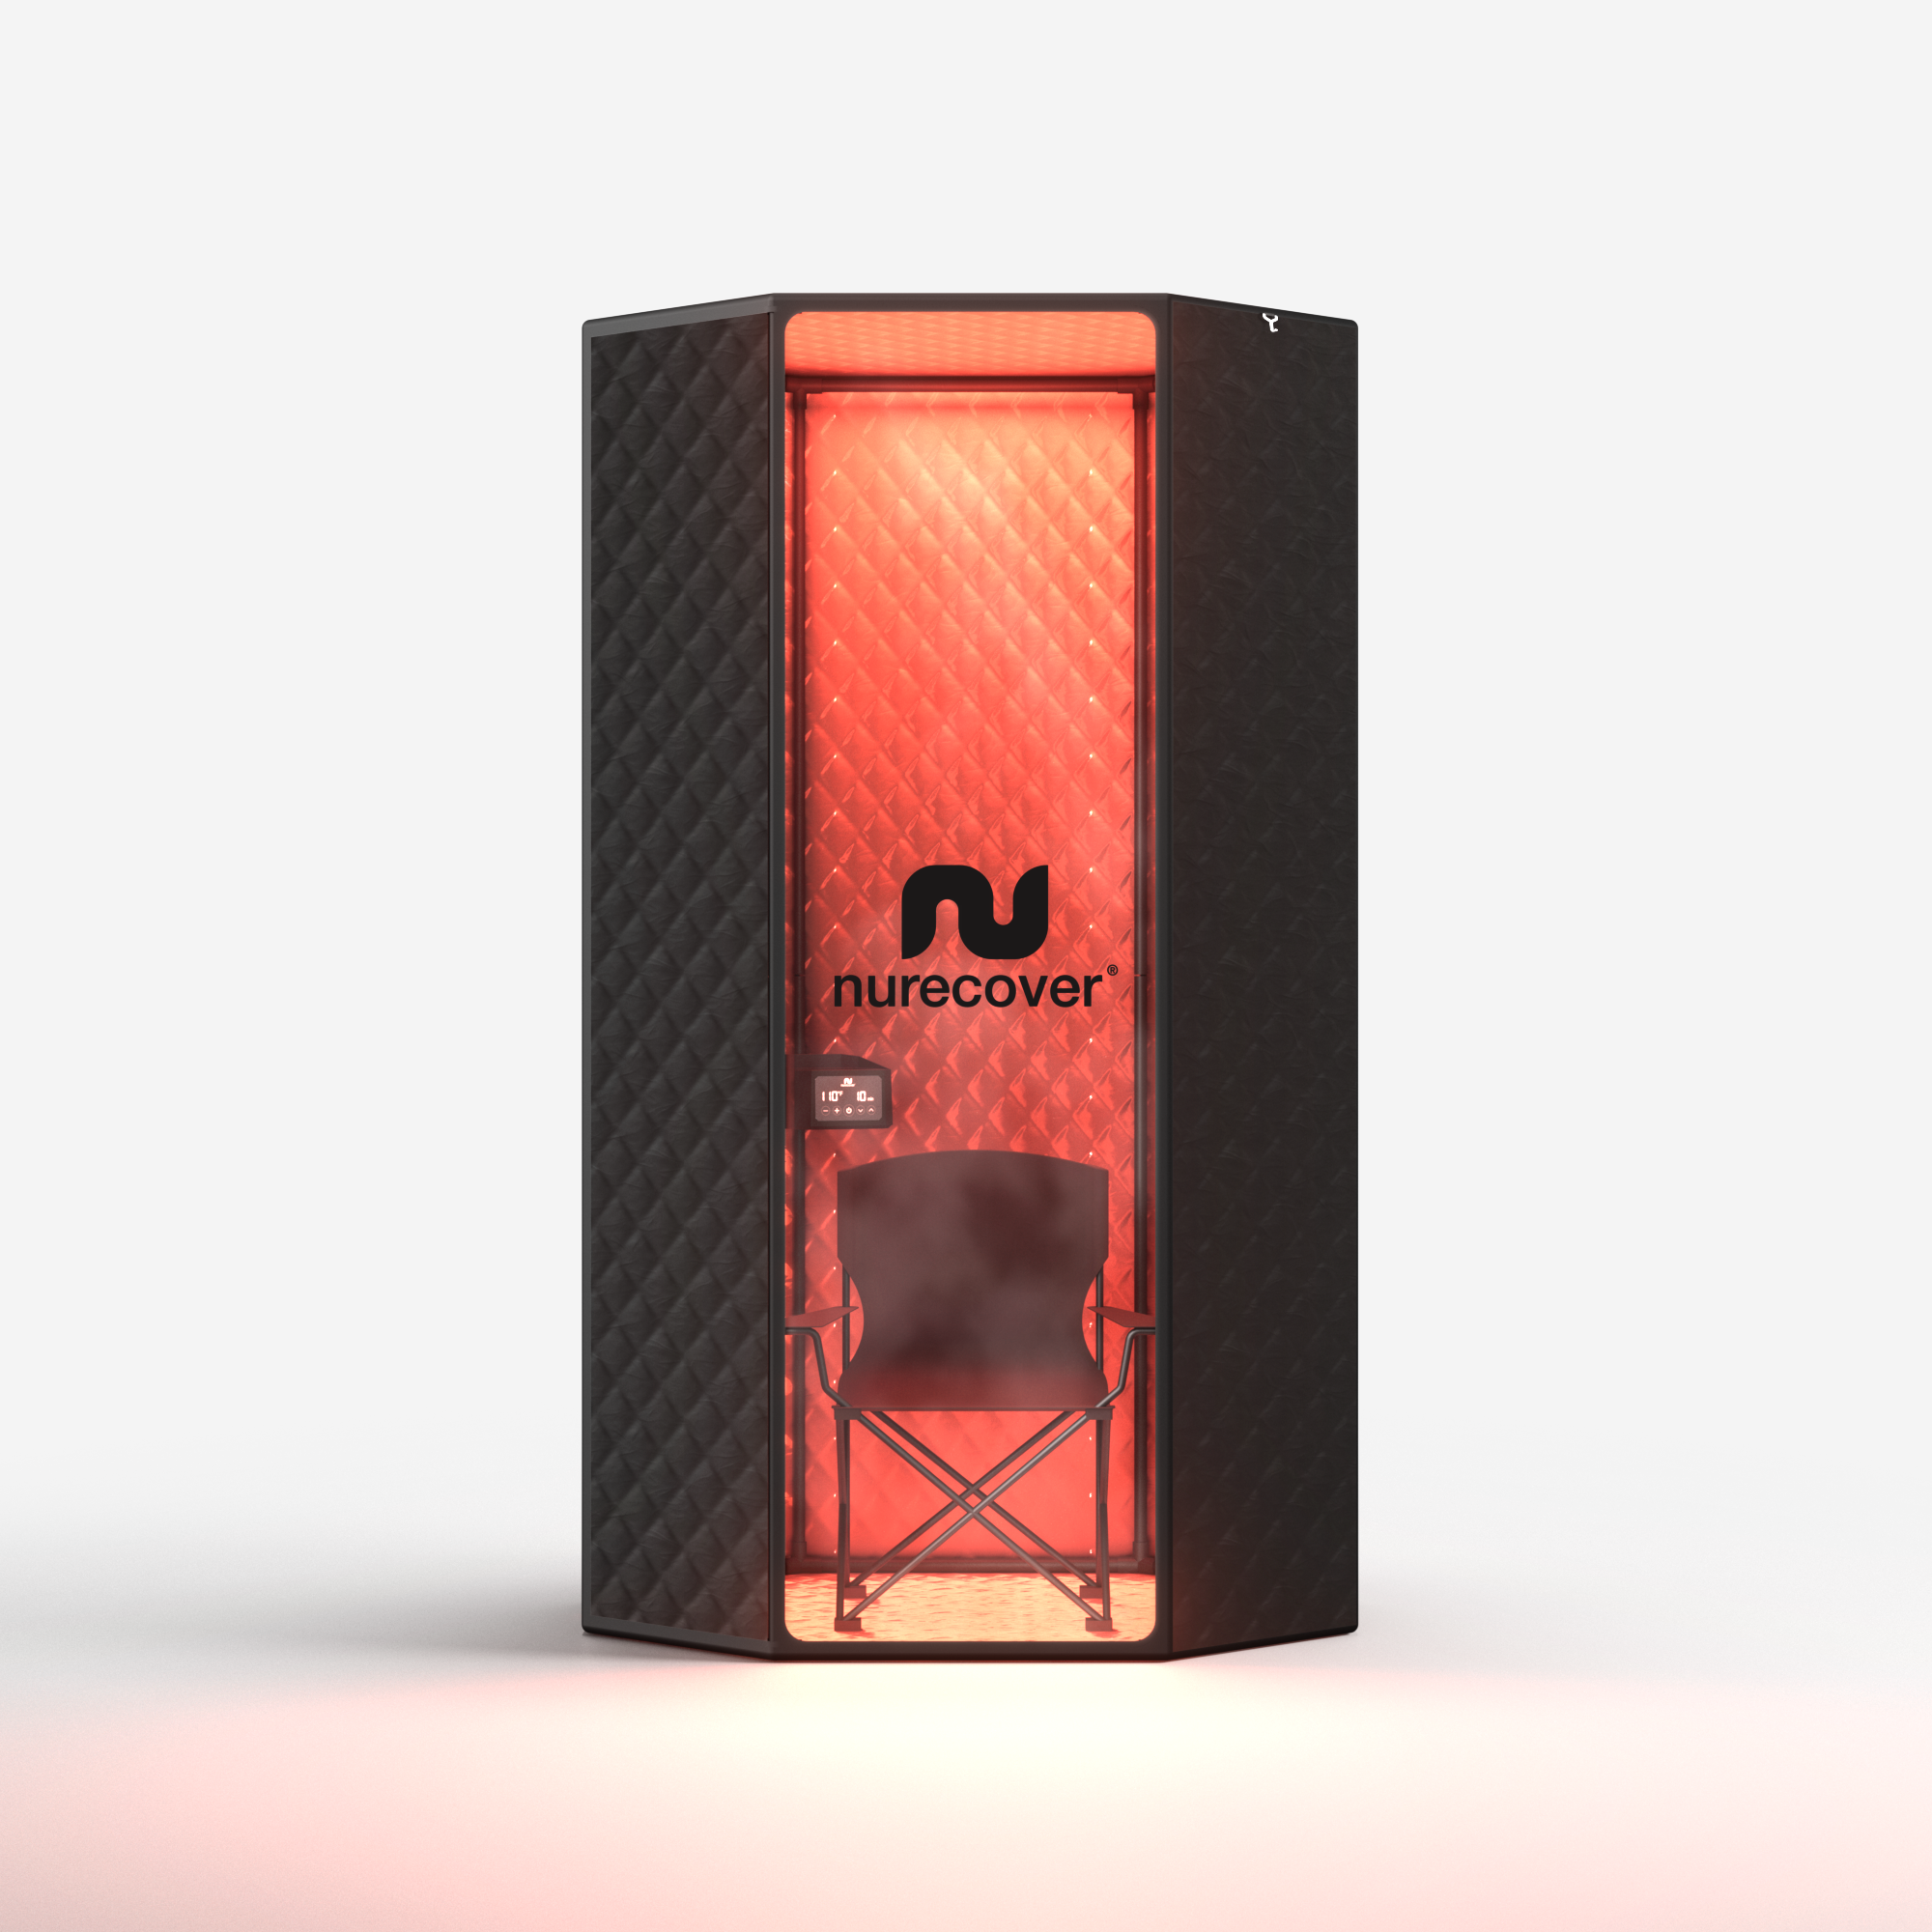
- 15-20 minutes in heat (sauna, hot bath, or the Nurecover SaunaPro at 185°F)
- 3-5 minutes in cold (ice bath or cold plunge)
- Repeat 2-3 cycles
The physiological benefit of contrast: heat expands blood vessels and relaxes muscle, cold contracts them. Cycling between states accelerates circulation, clears metabolic waste from muscle tissue, and produces a stronger parasympathetic response than cold alone.
The Nurecover Pro Bundle (SaunaPro + Plunge, $597) is designed for this protocol - it packages both tools at a significant discount versus individual pricing.
What to Expect After Your First Cold Plunge
Immediately after:
A strong sense of warmth and alertness as your body generates heat to compensate. Most people describe this as the best they’ve felt all day.
30-60 minutes after:
Elevated mood and focus that typically lasts 2-4 hours. This is the norepinephrine effect. If you did a morning session, this is the window when focus-intensive work is easiest.
Evening (if you did a morning plunge):
Many people notice improved sleep quality - particularly the ability to fall asleep faster and stay in deeper sleep longer. This effect builds over weeks of consistent practice.
The next morning:
Muscle soreness from yesterday’s workout will typically be reduced. The anti-inflammatory effect of cold immersion is most noticeable 12-24 hours after the session.
Common Mistakes When Learning How to Take a Cold Plunge at Home
Starting too cold. Sub-50°F water overwhelms beginners and causes panic exits. Work down to that temperature range over weeks, not days.
Holding your breath. A common instinct during the cold shock response. Breath-holding reduces oxygen and increases anxiety. Focus on exhaling.
Getting in hot water immediately after. A hot shower right after a cold plunge cancels the cardiovascular and hormonal response you created. If you need to warm up, use passive heat (blanket, clothing, movement) rather than external heat for at least 15-20 minutes.
Skipping the thermometer. “Cold enough” isn’t precise enough. 65°F water feels cold but produces a fraction of the physiological response of 55°F water. A $9 thermometer removes all guesswork.
Inconsistent scheduling. Cold therapy benefits are dose-dependent and cumulative. Daily or near-daily practice over months produces meaningfully better results than occasional plunges. Build a schedule and stick to it.
How to Take a Cold Plunge at Home: Building a Sustainable Habit
The biggest predictor of cold therapy results is consistency, not intensity. Five minutes at 57°F, five days a week, for three months outperforms a single 15-minute plunge in a chest freezer.
To build consistency:
– Schedule sessions at the same time daily (morning works best for most people)
– Keep your cold plunge setup accessible - friction is the enemy of habits
– Use a timer visible from the tub so you don’t have to guess when you’re done
– Track duration and temperature; progress is motivating
The Nurecover Pod ($99) is the setup with the least friction: portable, quick to fill, and stores easily when not in use.
FAQ: How to Take a Cold Plunge at Home
How long should a cold plunge last for beginners?
Start with 2 minutes at 55-60°F. Increase by 30-60 seconds per week as your cold shock response weakens. Most experienced cold plungers target 3-5 minutes per session.
Is it safe to cold plunge alone?
For healthy adults, yes. Have someone nearby for your first few sessions while you’re learning the breathing technique. Avoid cold plunge if you have uncontrolled cardiovascular conditions, Raynaud’s syndrome, or are pregnant.
What time of day is best for cold plunge?
Morning plunges produce the strongest mental clarity effect. Post-workout plunges (1+ hour after training) produce the strongest recovery effect. Avoid cold plunge within 2-3 hours of sleep as the initial alertness effect can interfere with falling asleep.
Should I use a cold plunge or cold shower?
Cold showers reach approximately 60-70°F in most homes - warmer than the optimal cold plunge range and with much less surface area in contact with cold water. Cold showers are a starting point; a portable ice bath produces a stronger physiological response at equivalent temperatures.
For a full review of nurecover’s cold plunge lineup, see the Nurecover review. For how to choose between portable ice bath options at different price points, see the portable ice bath guide.